What Do We Know About Terminal Fault (L1TF) Chip Vulnerabilities?
Understanding The L1 Terminal Fault (L1TF)
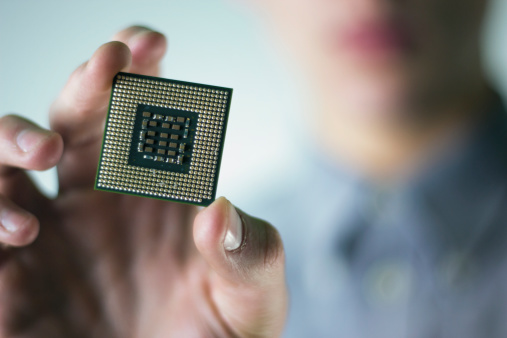
Intel has recently confirmed L1 Terminal Fault (L1TF) chip vulnerabilities in its processors that can be manipulated by malware and malevolent virtual machines with the intention of stealing private information from a computer’s memory.
Who or What is Vulnerable?
In short, Intel’s desktop, workstation, and server CPUs are exposed. What Intel initially described as impregnatable memory, has been found to have holes. That means sensitive data from other software and other customers’ virtual machines can be stolen from malicious software and guest virtual machines either on a vulnerable device or a cloud platform.
This private information may involve personal and financial accounts, passwords, and encryption keys. Also, they pose a threat to be taken from other customers’ virtual machines, including both System Management Mode (SMM) memory and SGX enclaves.
SGX, made by Intel technology, is intended to guard private information from code geared to peep and pry.
SMM serves as a computer’s clean-up operator. This is an alternate software system that is usually placed in the computer’s firmware. It also has total control over the computer’s hardware and absolute admittance to all of its data.
Let’s break down the three areas, which Intel has named its L1 Terminal Fault (L1TF) bugs:
CVE-2018-3615
CVE-2018-3615 impacts Software Guard Extensions (SGX). More specifically, Intel says, “Systems with microprocessors utilizing speculative execution and software guard extensions (Intel SGX) may allow unauthorized disclosure of information residing in the L1 data cache from an enclave to an attacker with local user access via side-channel analysis.” The researching teams who discovered CVE-2018-3615, named the vulnerability, Foreshadow.
The Fix:
Fixing this vulnerability will require the microcode update. To be safe, it is also recommended that you update your operating system and VM hypervisor. The patches should be available now for just about all operating systems.
This bug was discovered by two different groups:
- Jo Van Bulck, Frank Piessens, Raoul Strackx from imec-DistriNet – KU Leuven.
- Marina Minkin, Mark Silberstein from Technion, Ofir Weisse, Daniel Genkin, Baris Kasikci, Thomas F. Wenisch from The University of Michigan, and Yuval Yarom from University of Adelaide and CSIRO’s Data61.
CVE-2018-3620
According to Intel, “Systems with microprocessors utilizing speculative execution and address translations may allow unauthorized disclosure of information residing in the L1 data cache to an attacker with local user access via a terminal page fault and side-channel analysis.” In short, CVE-2018-3620 affects operating systems and SMM.
The Fix:
To fix this, operating system kernels will need to be patched. Also, the SMM needs the microcode update, to be safe.
CVE-2018-3646
Intel states, “Systems with microprocessors utilizing speculative execution and address translations may allow unauthorized disclosure of information residing in the L1 data cache to an attacker with local user access with guest OS privilege via a terminal page fault and side-channel analysis.” CVE-2018-3646 affects hypervisors and virtual machines.
The Fix:
Fixing CVE-2018-3646 will require the microcode, operating system, and hypervisor updates in order to protect your data.
Extra Fix:
The way hypervisor software operates is by allowing virtual machines or processors to be run off shared resources of a physical server. At the same time, they use multi-threading – a technique by which a single set of code can be used by several processors at different stages of implementation. Intel calls this Hyperthreading, and it can split one of its cores to act like two separate processors of the multi-core CPU for the hypervisor. This technique creates what Intel calls “sibling threads.”
Since these threads share a pool of L1 cache memory attached to the core, a malicious guest, on one of the virtual processors, could manipulate the third variant of the L1 Terminal Fault and get data used by the other sibling thread.
Even though the virtual processor will recognize this and deny the request of the hacker, if the data is in the cache at the same time, it can be revealed to the hacker.
Both CVE-2018-3620 and CVE-2018-3646 were discovered by Intel’s engineers after the university researchers who discovered “Foreshadow” informed Intel about CVE-2018-3615, the SGX issue.
The Ultimate Fix
The real fix to all these problems will be made by replacing the processors. As Intel stated, when addressing L1TF, “These changes begin with our next-generation Intel Xeon Scalable processors (code-named Cascade Lake), as well as new client processors expected to launch later this year.”
For now, the best advice is to keep patching and be aware of any changes you see in the area of performance and speed with the patches.