
Set Up Microsoft Authenticator for Two-Factor Authentication
Learn how to add Microsoft Authenticator as a verification method for your Microsoft account. This guide will walk you through the setup process to enhance your account security.
Download Mobile App (Skip if already installed)
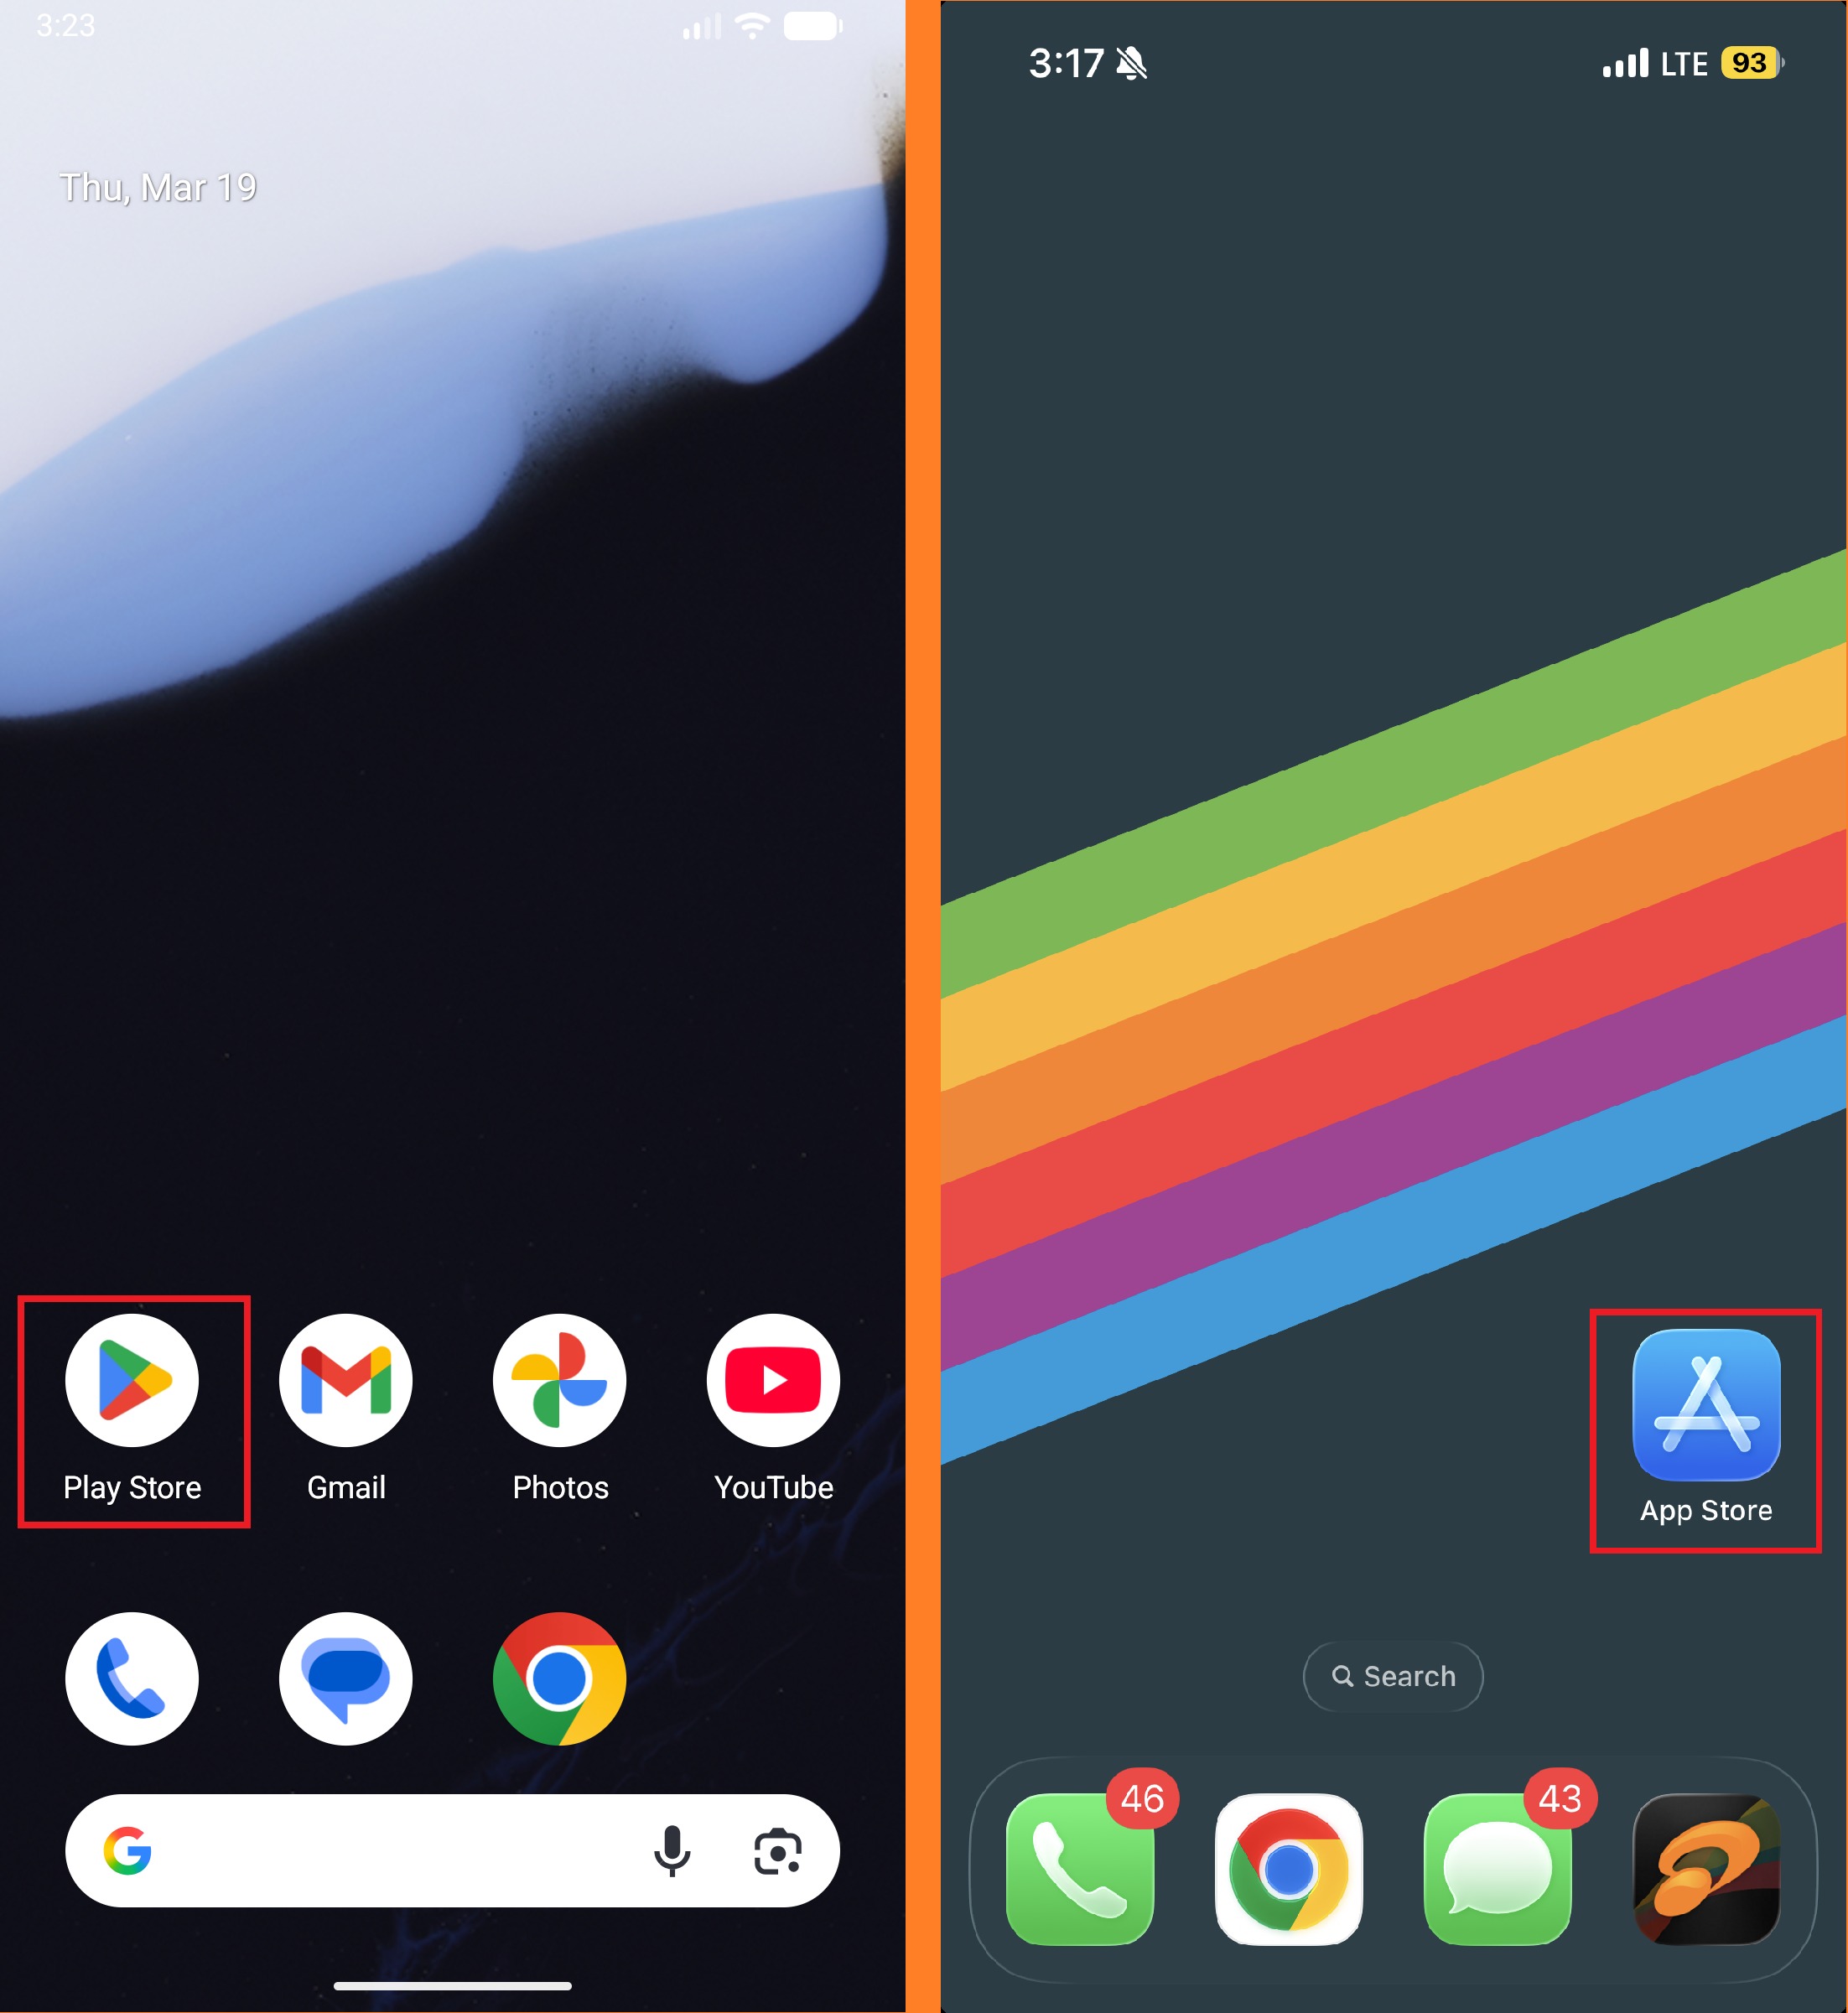
1. Open Google Play Store or iOS App Store
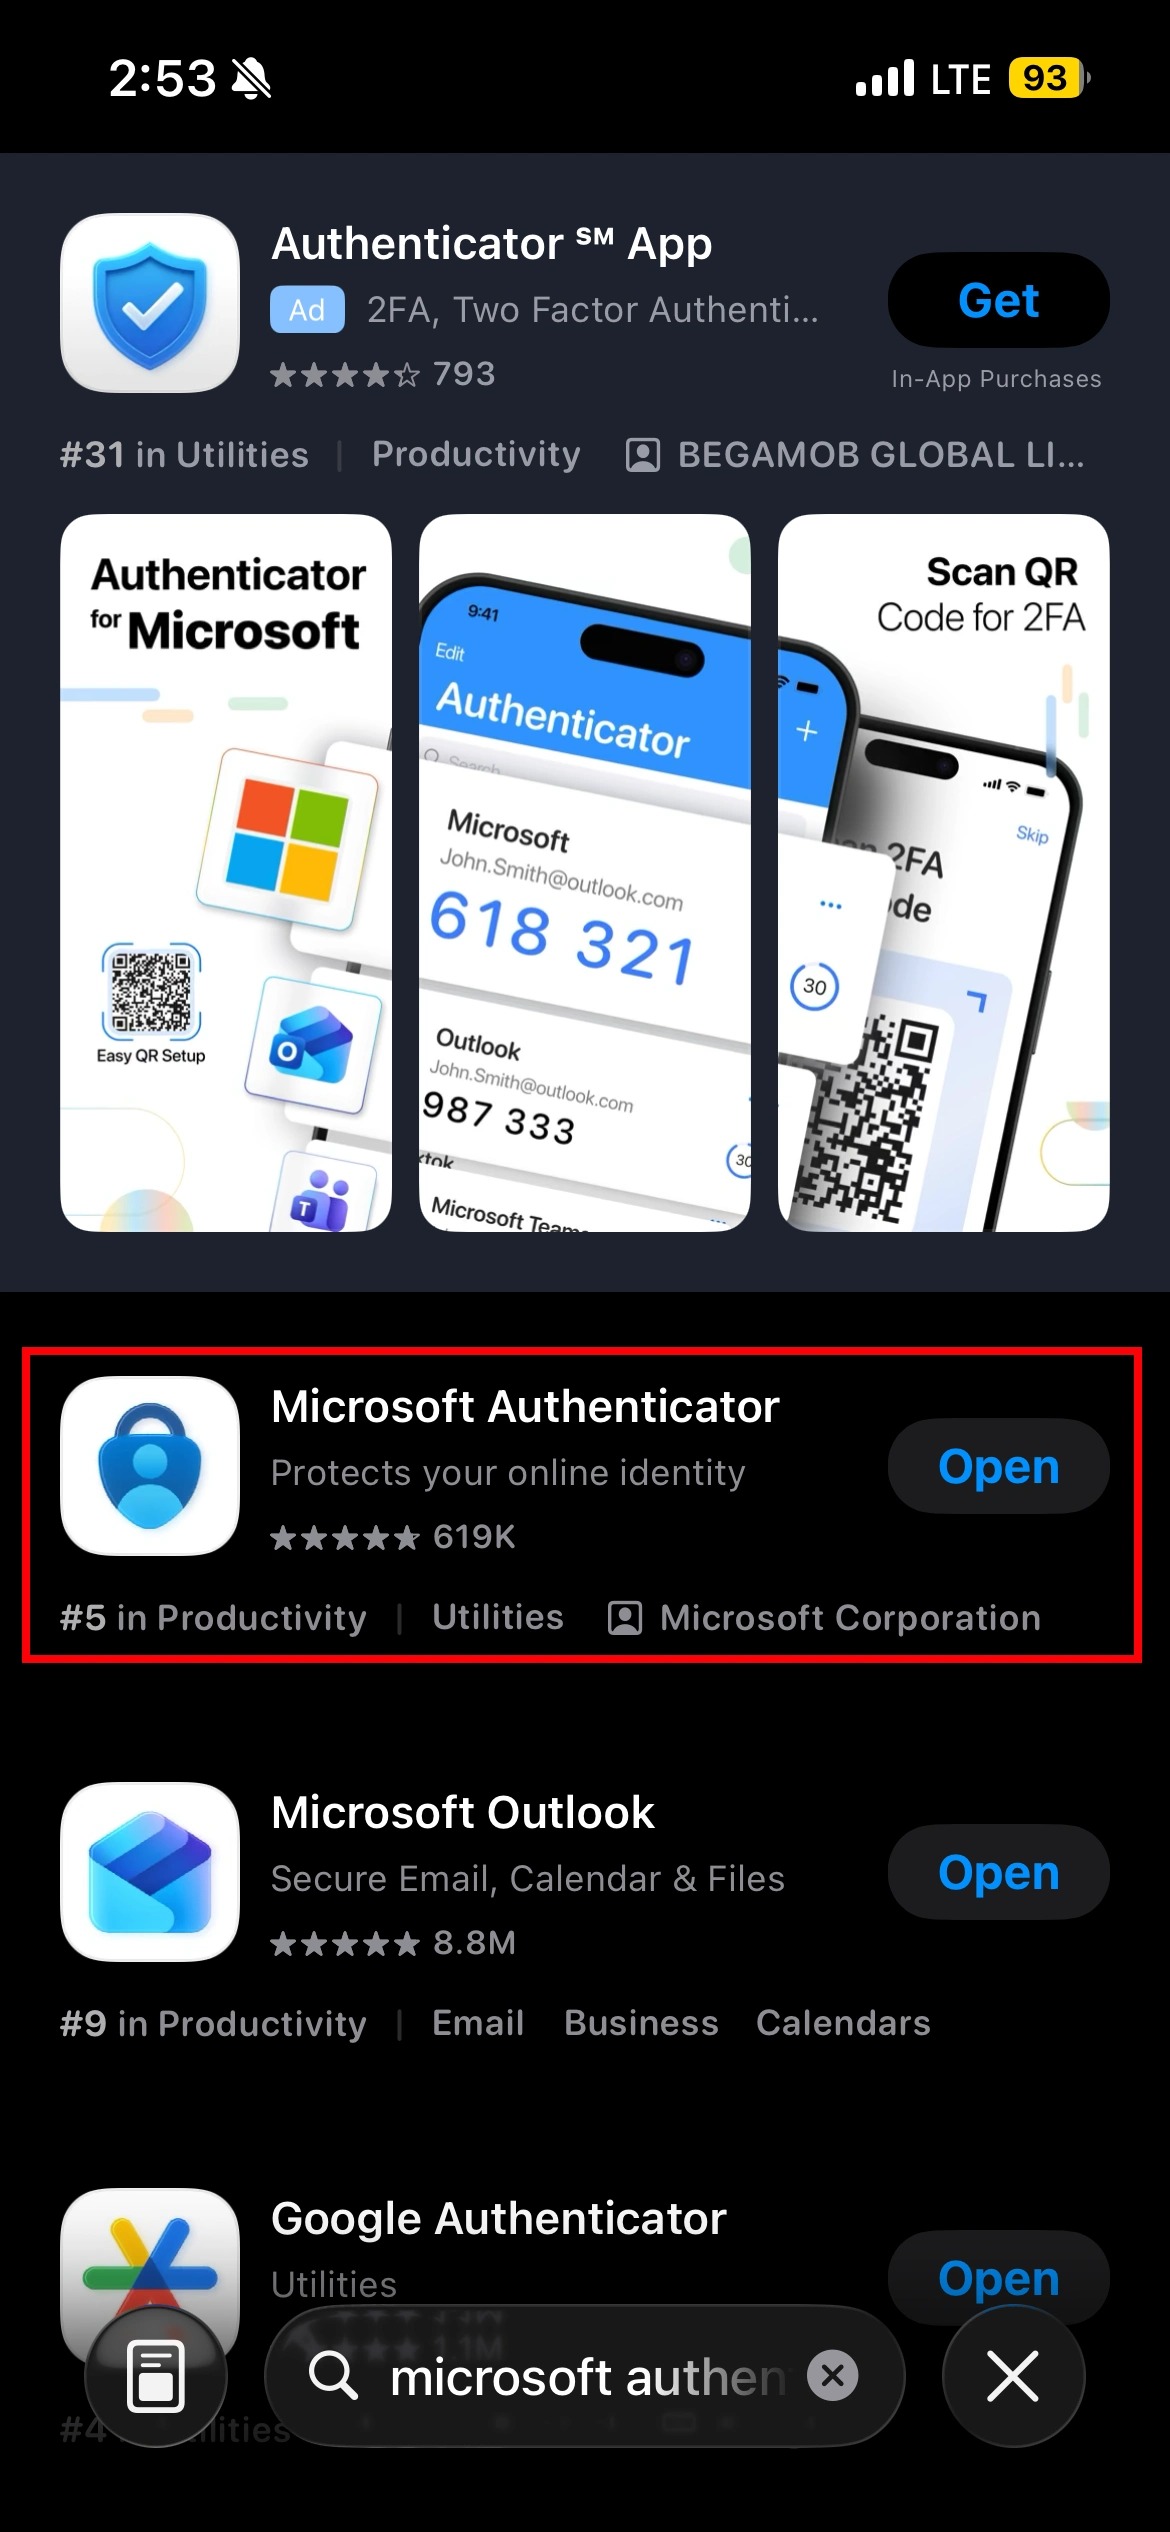
2. Search for “Microsoft Authenticator” and select “Microsoft Authenticator”
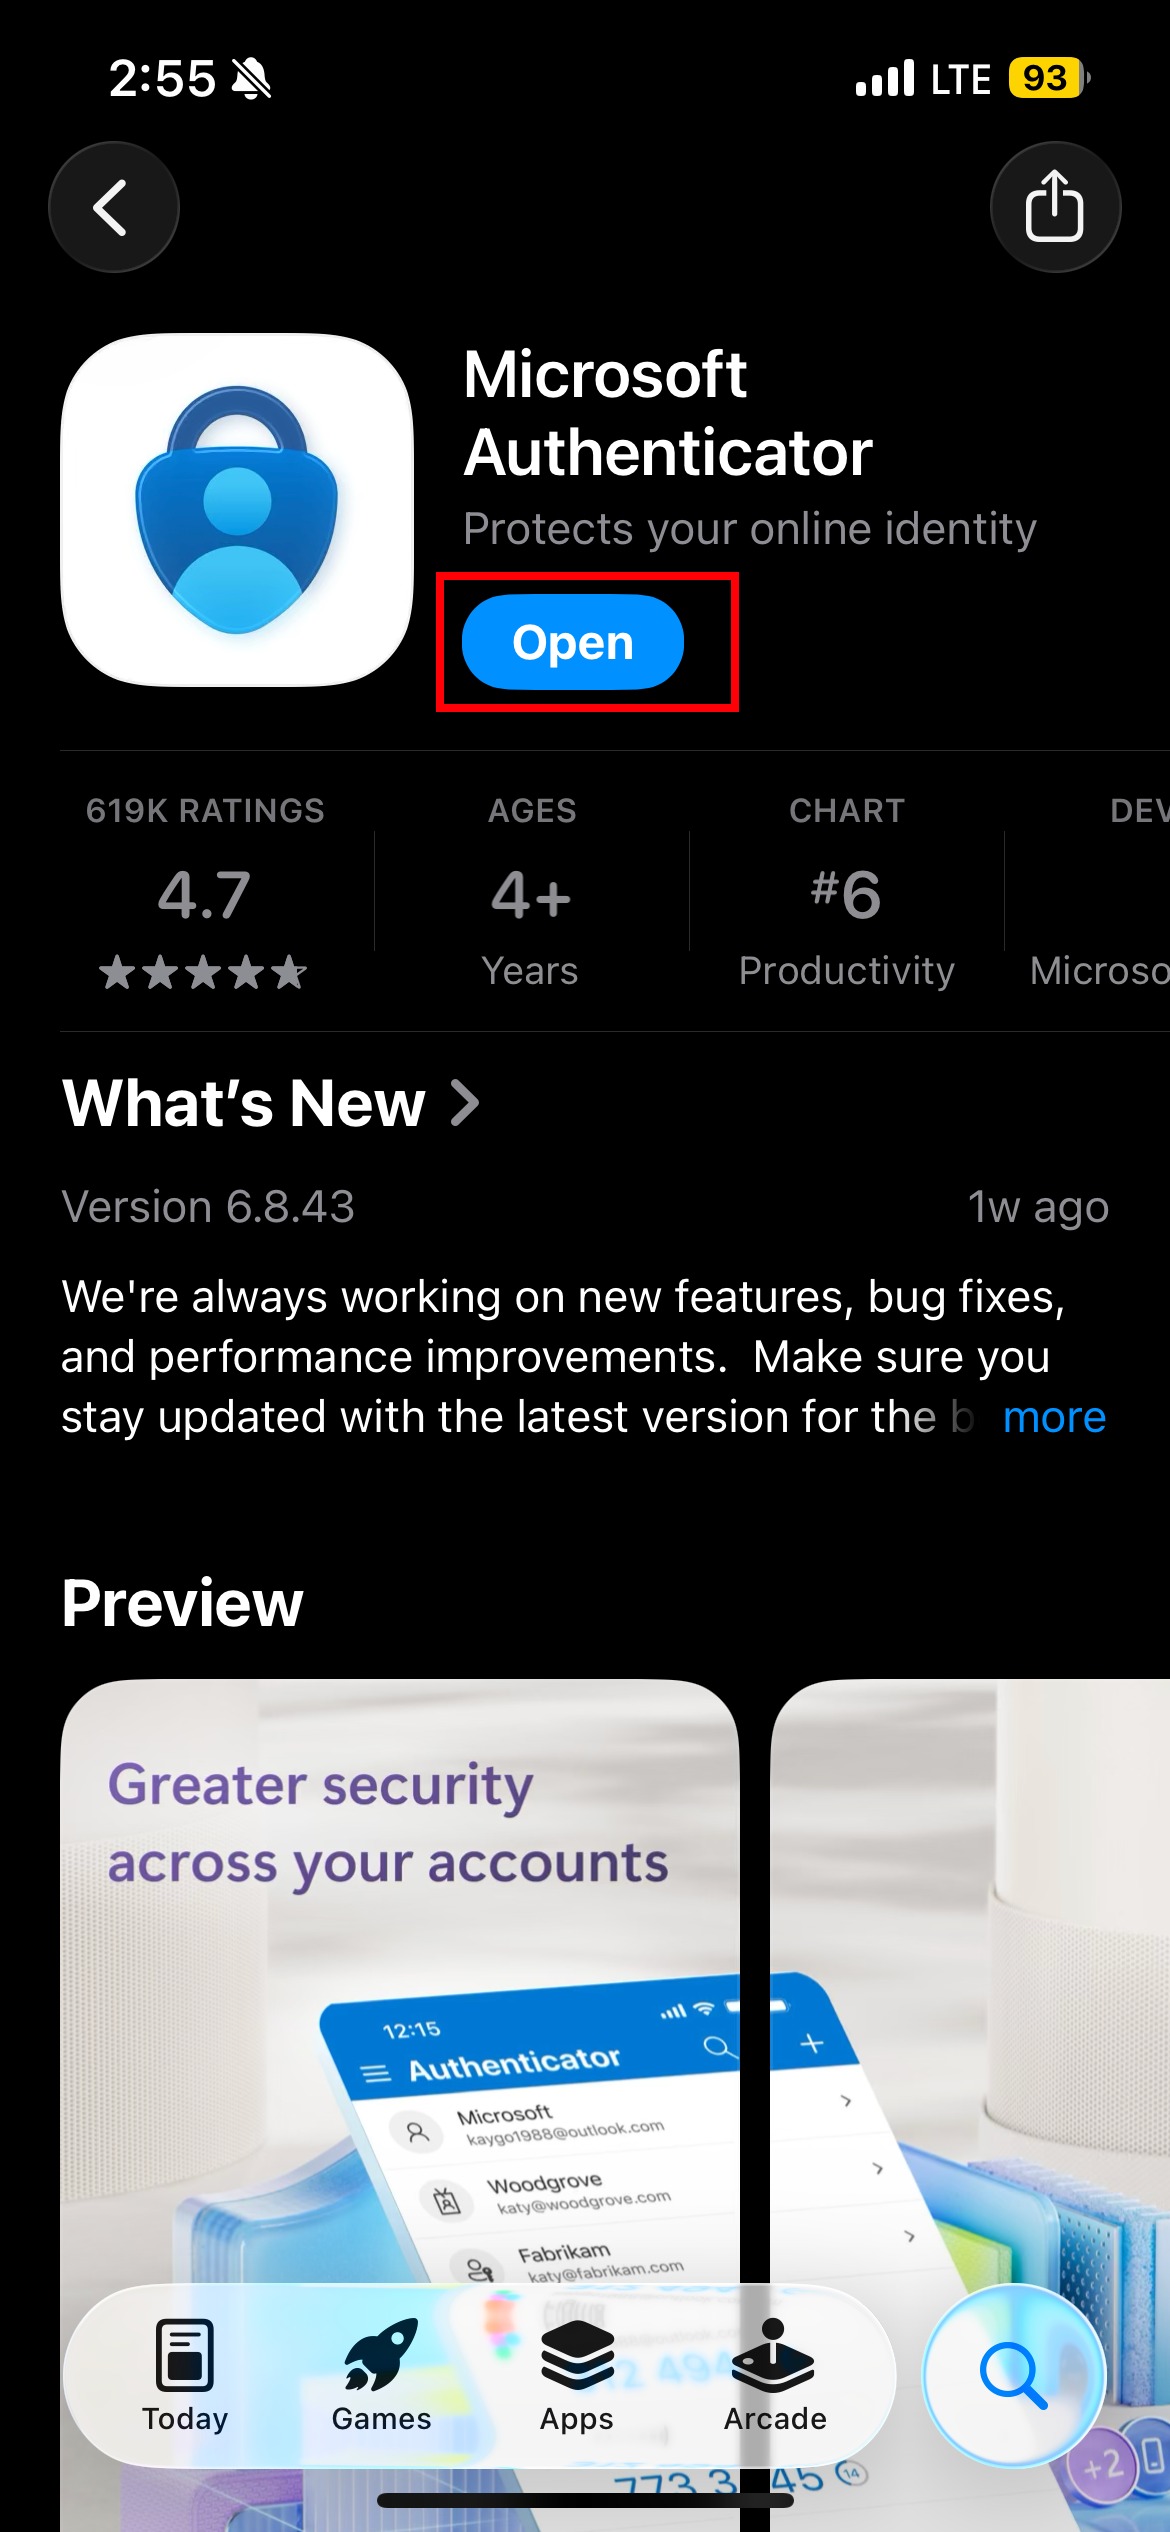
3. Tap “Install” to download the Microsoft Authenticator
Log into Office 365
4. Navigate to https://portal.office.com
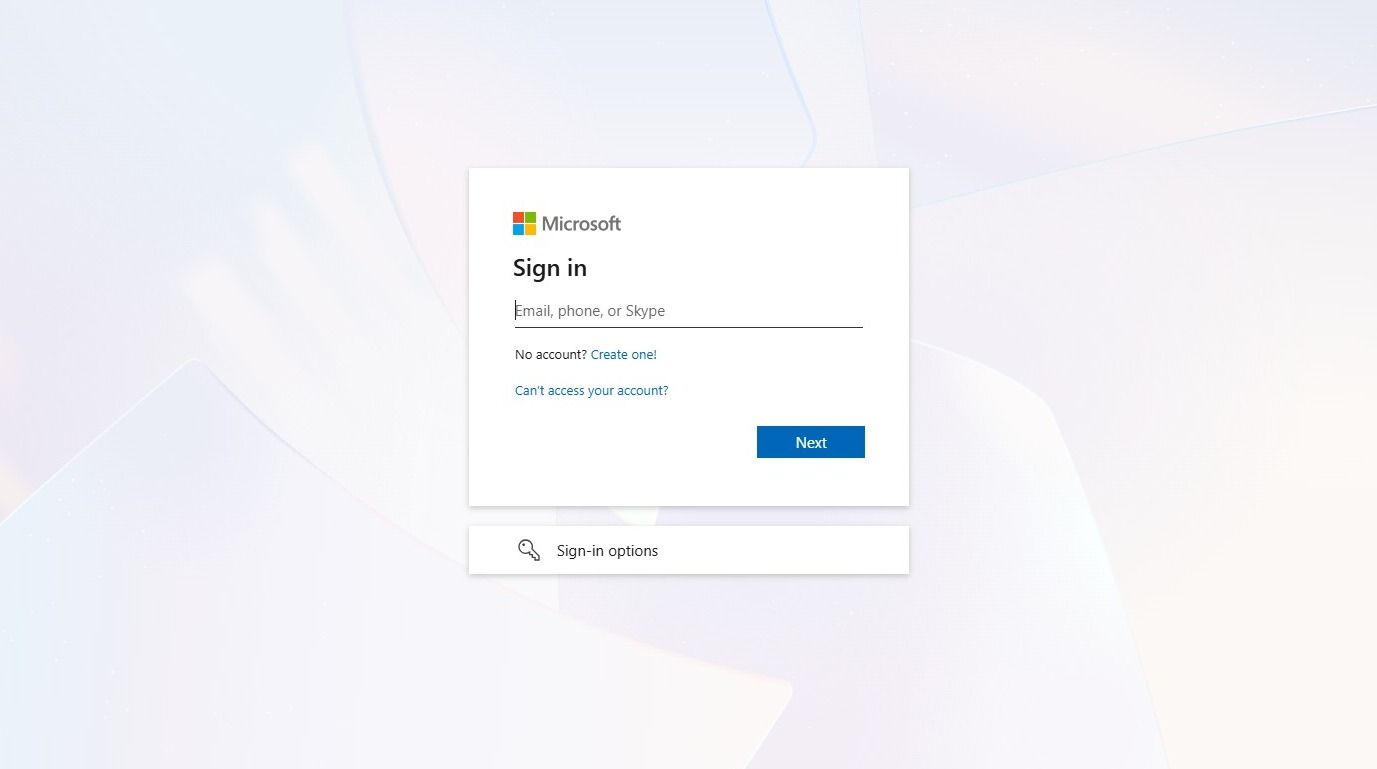
5. Click the “Email” field.
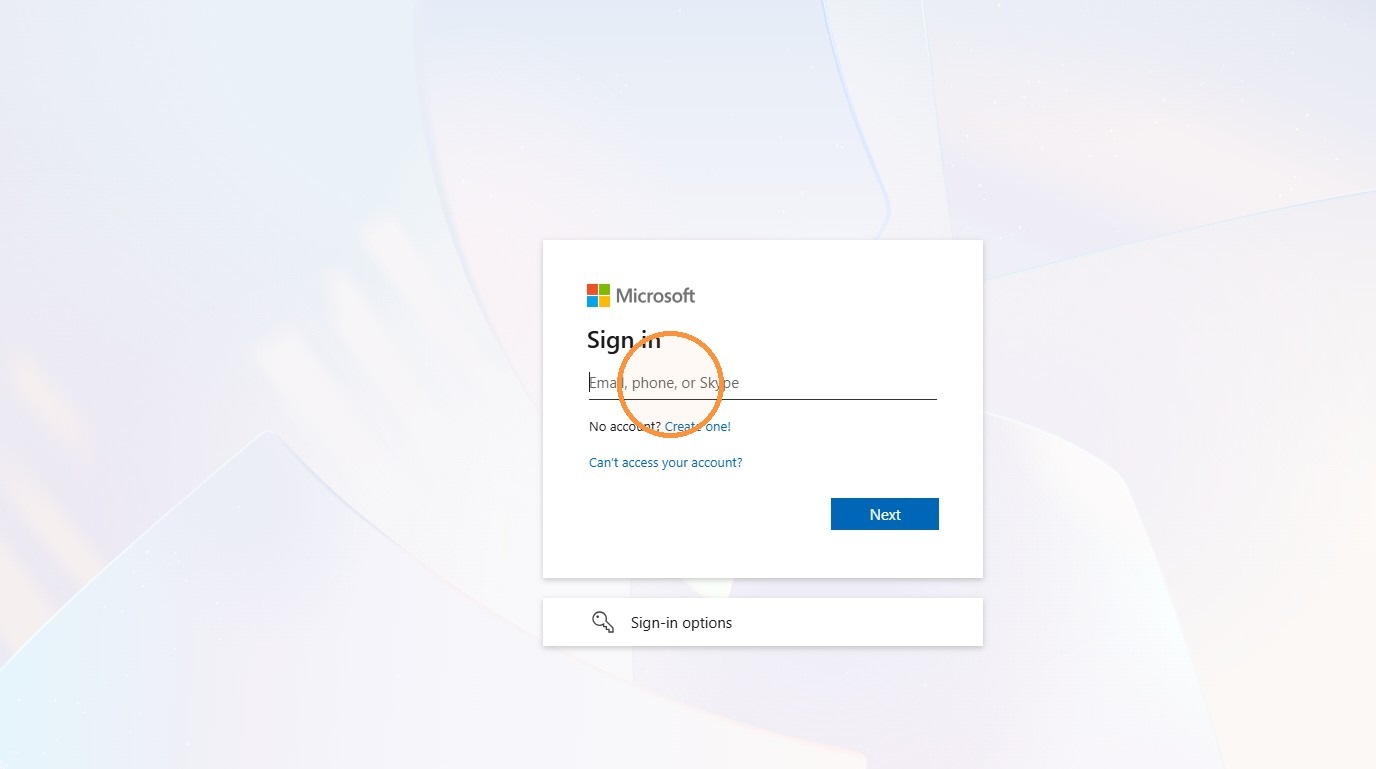
6. Type in your Email address and click “Next”
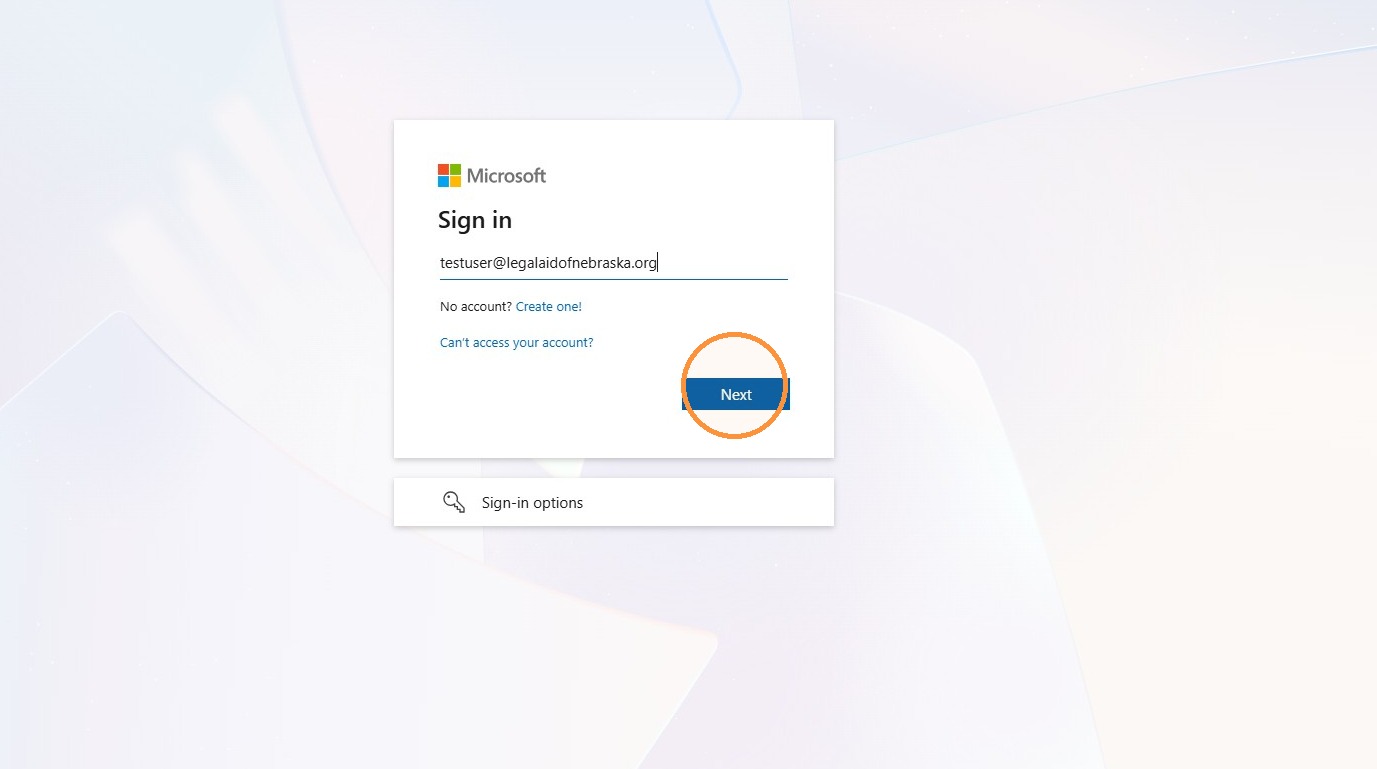
7. Type in your password and Click “Submit”
Securing your account with the Microsoft Authenticator App
8. You should be prompted to “Keep your account secure”. Click “Next” to continue.
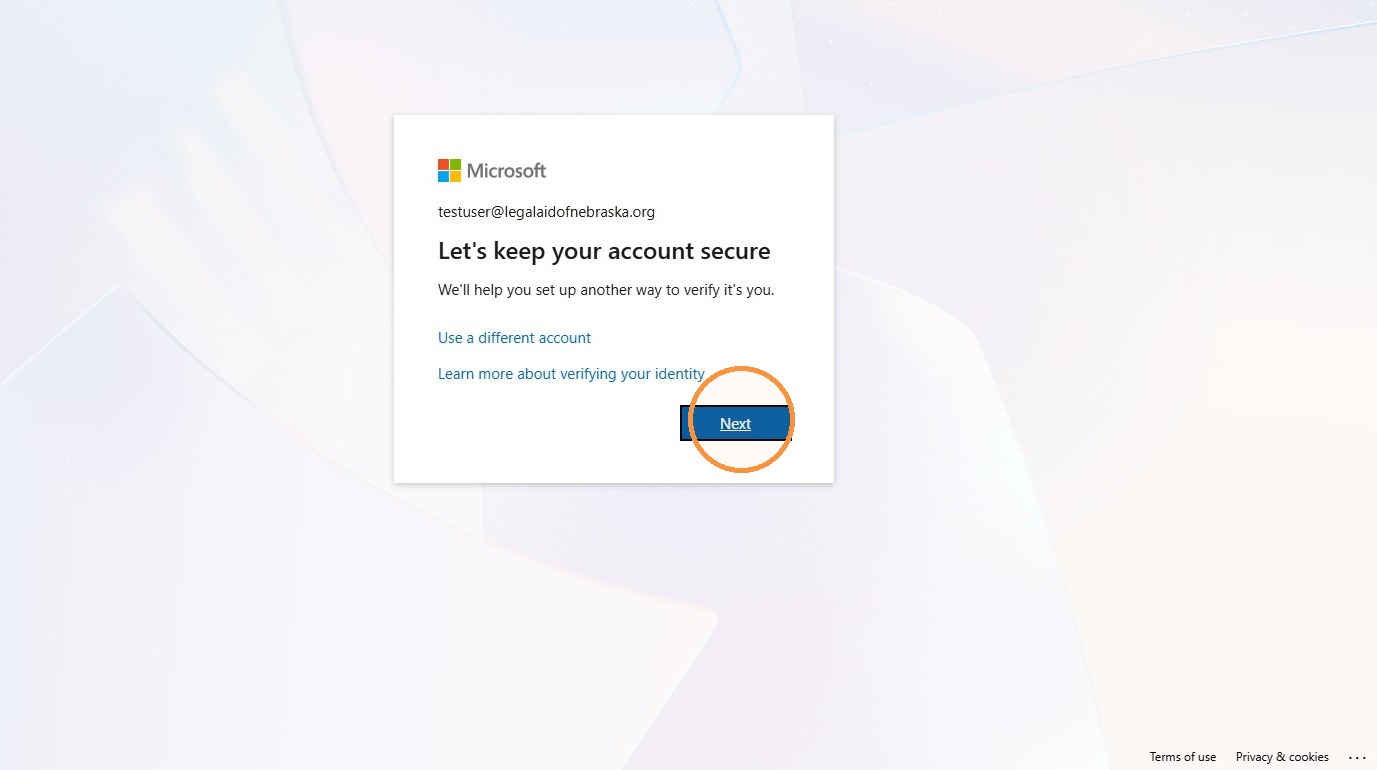
Alert: If you have not install the Microsoft Authenticator App, please do so before continuing.
9. Click “Next” to start the application enrollment process
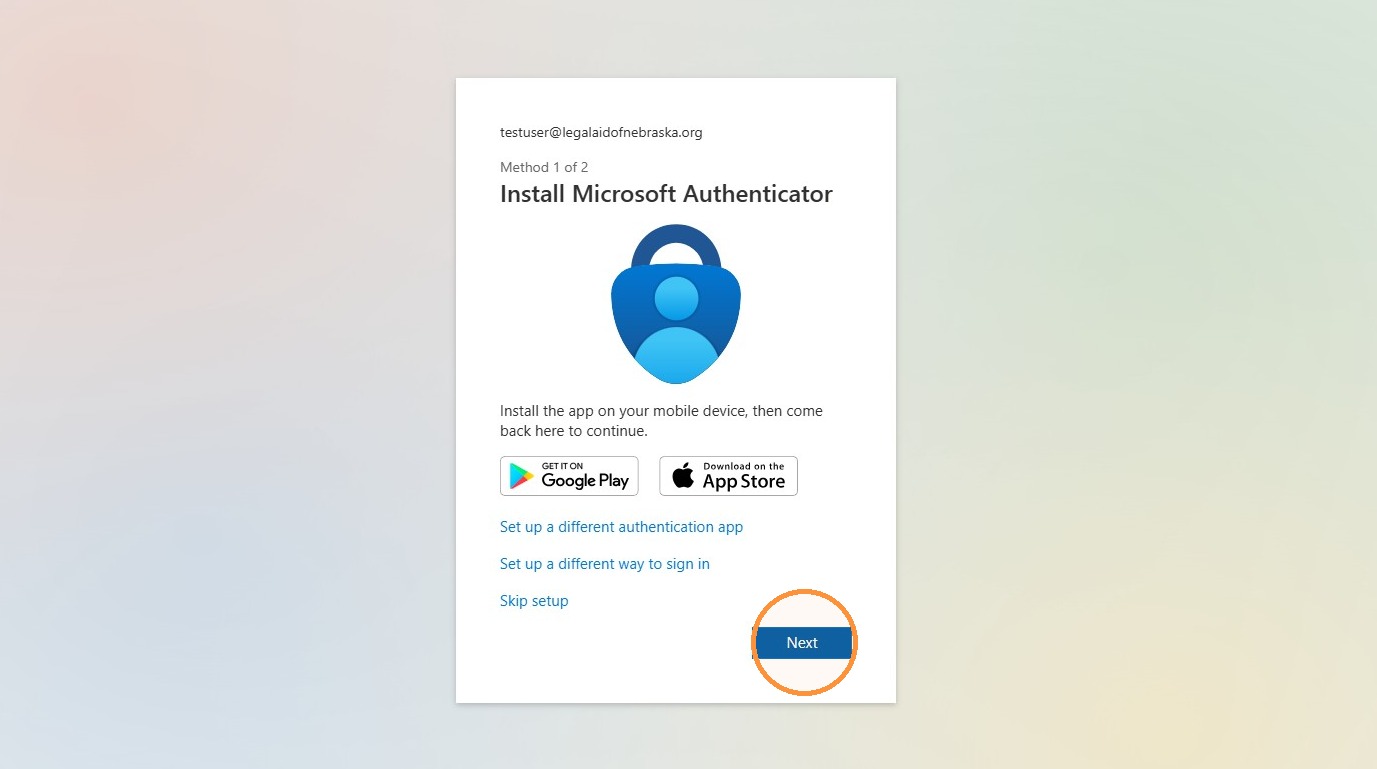
10. Click “Next” to continue
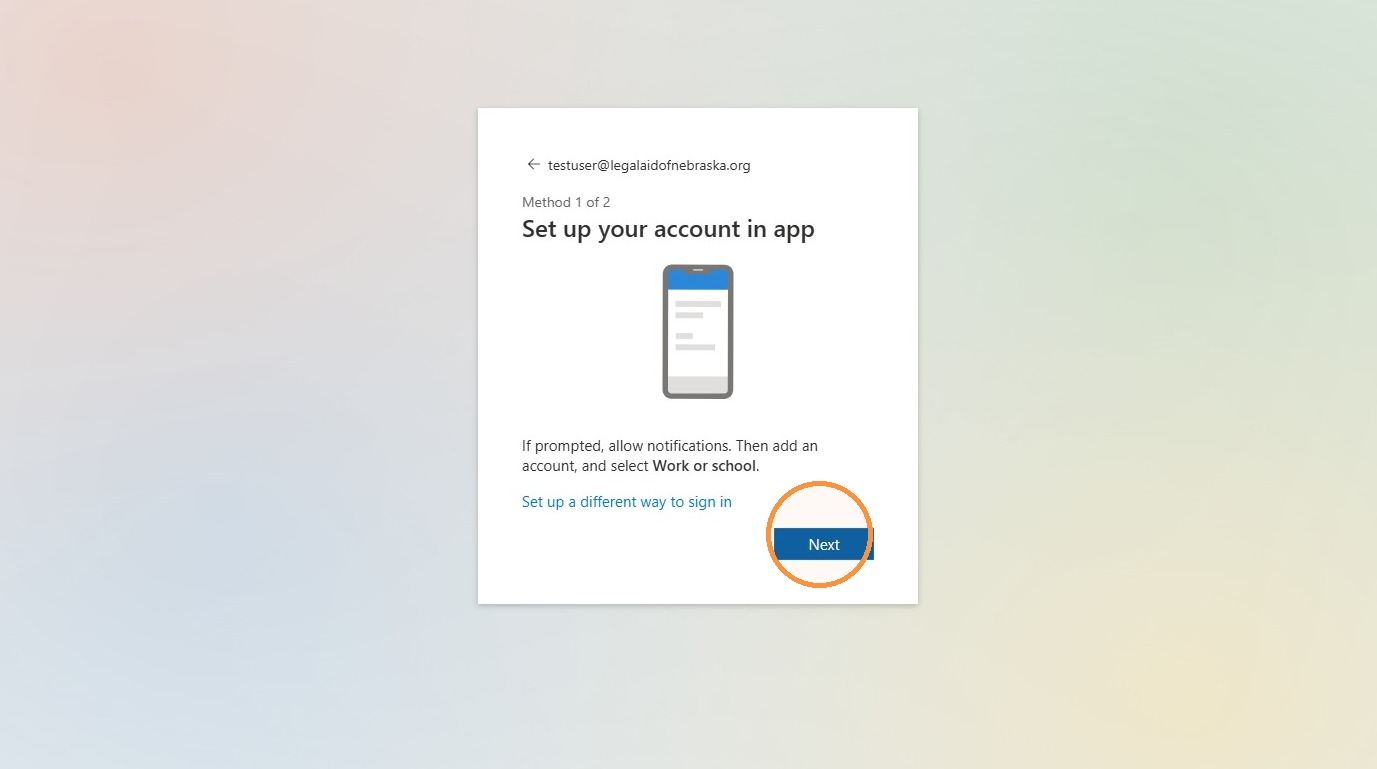
11. Keep this screen up on your computer and switch to your mobile device
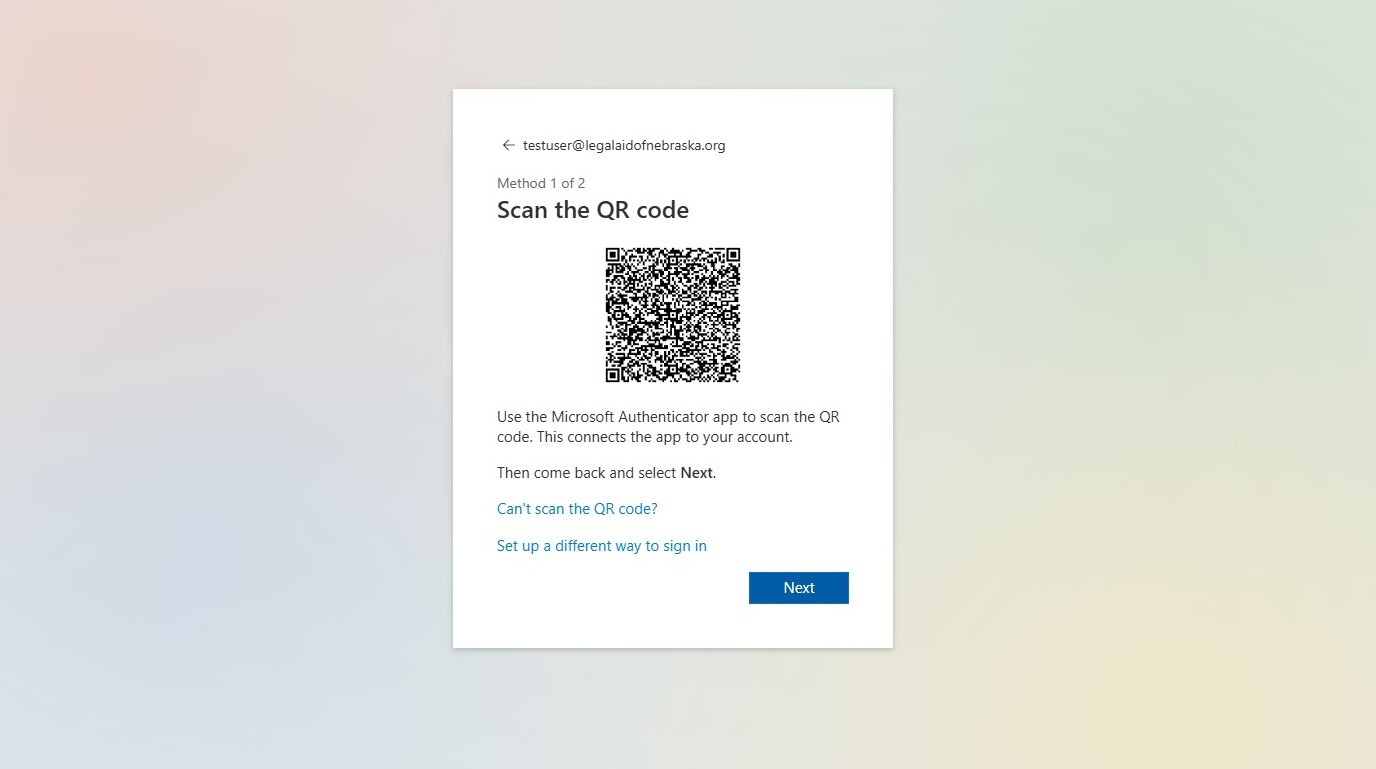
On Mobile Device
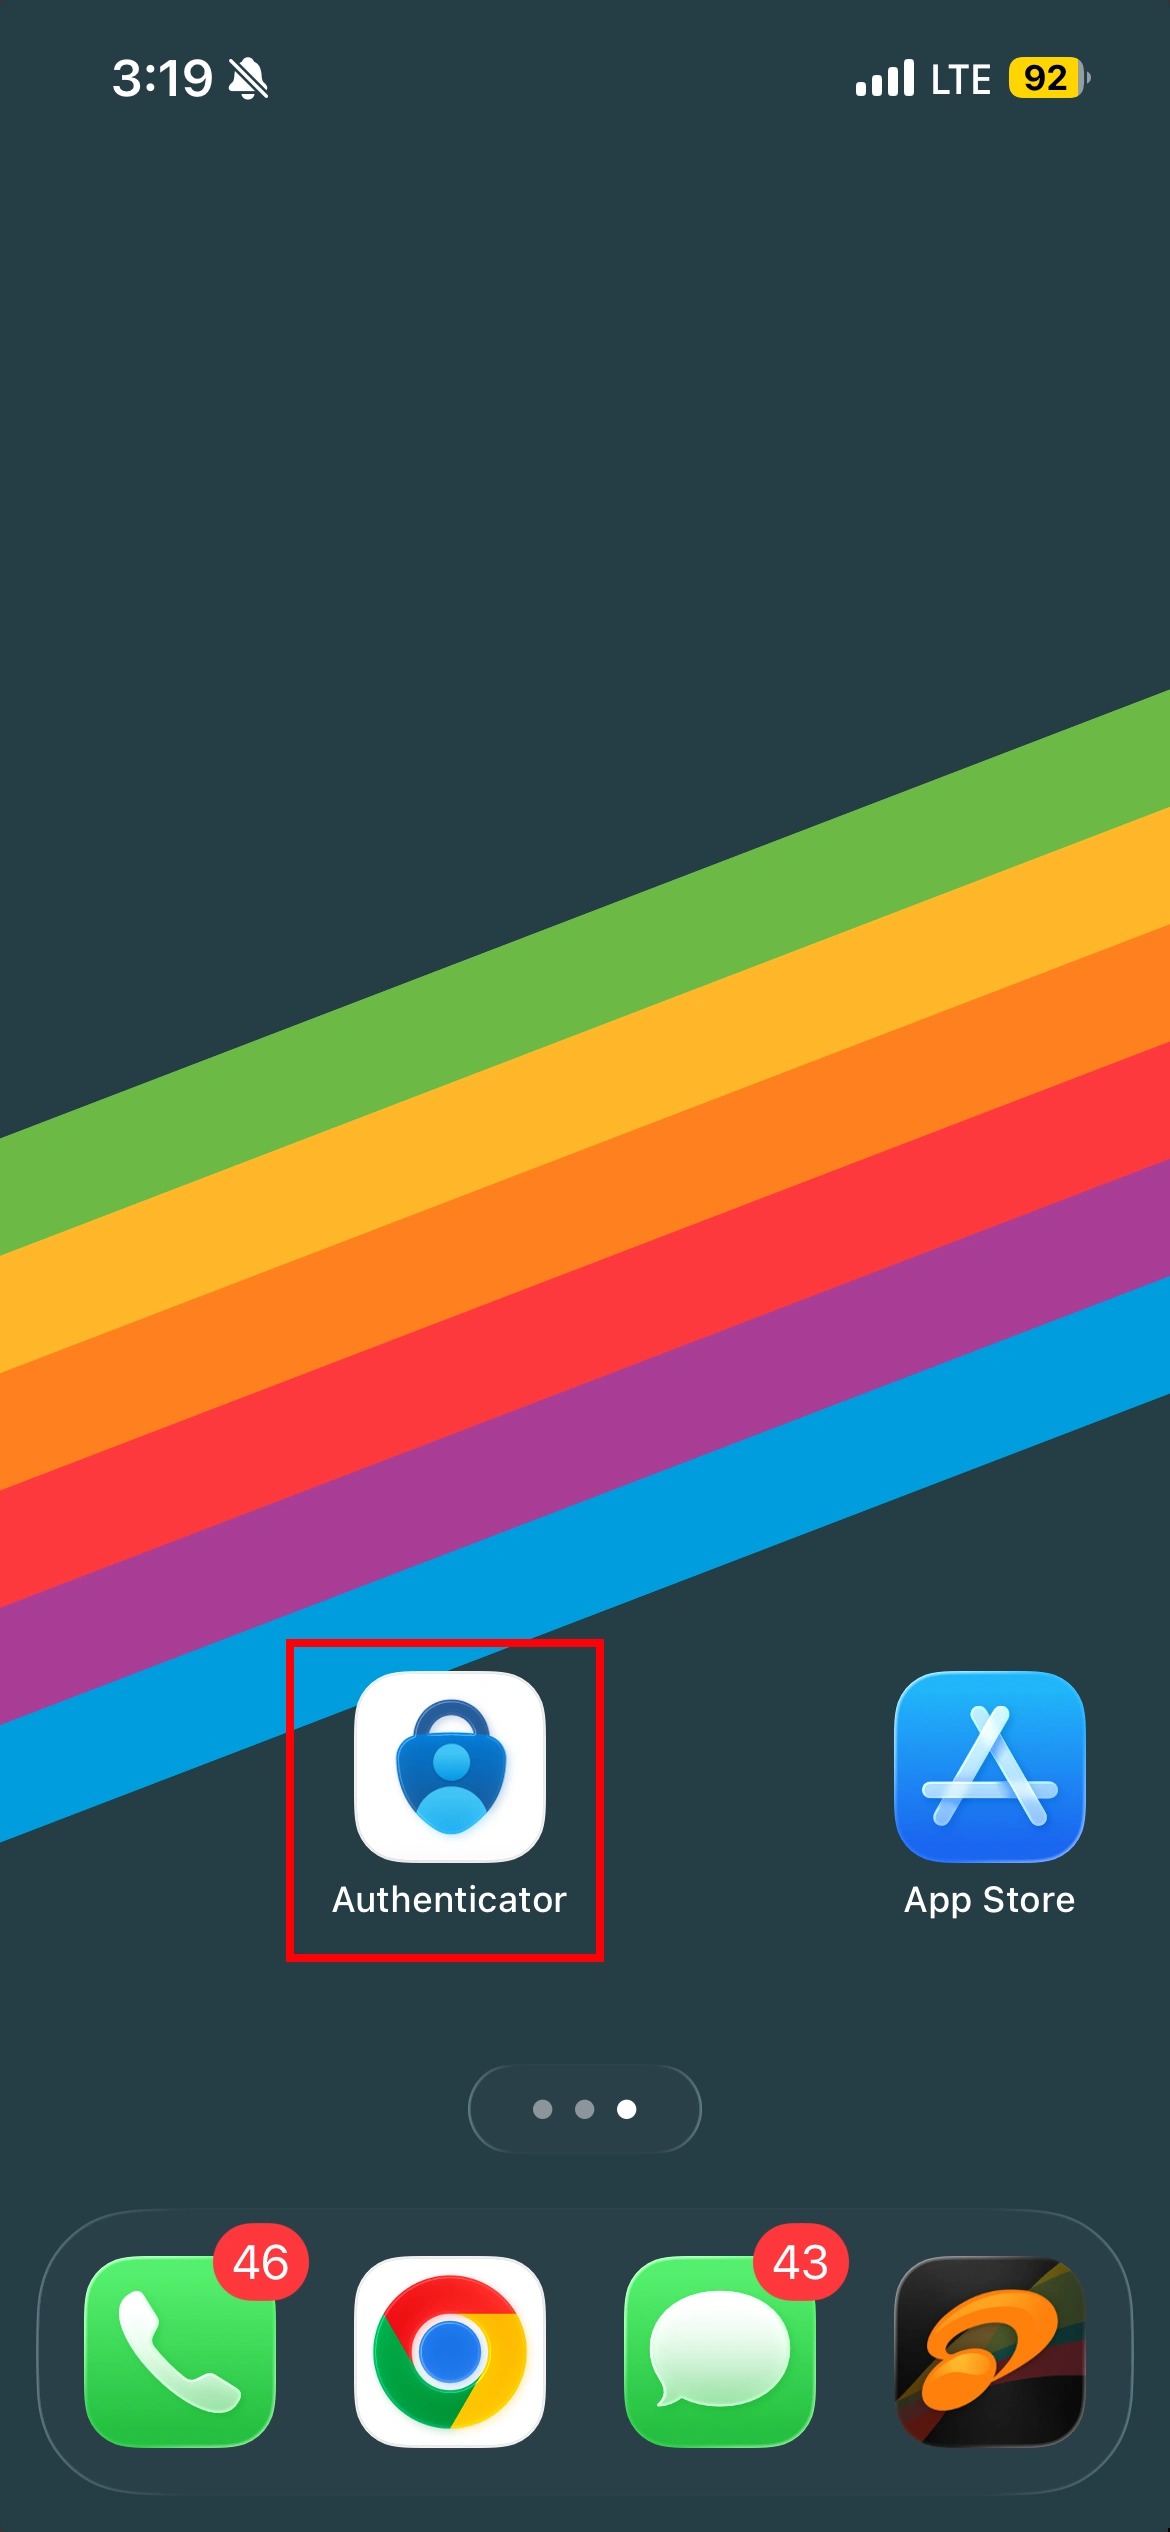
12. Open the “Microsoft Authenticator” App on your mobile device
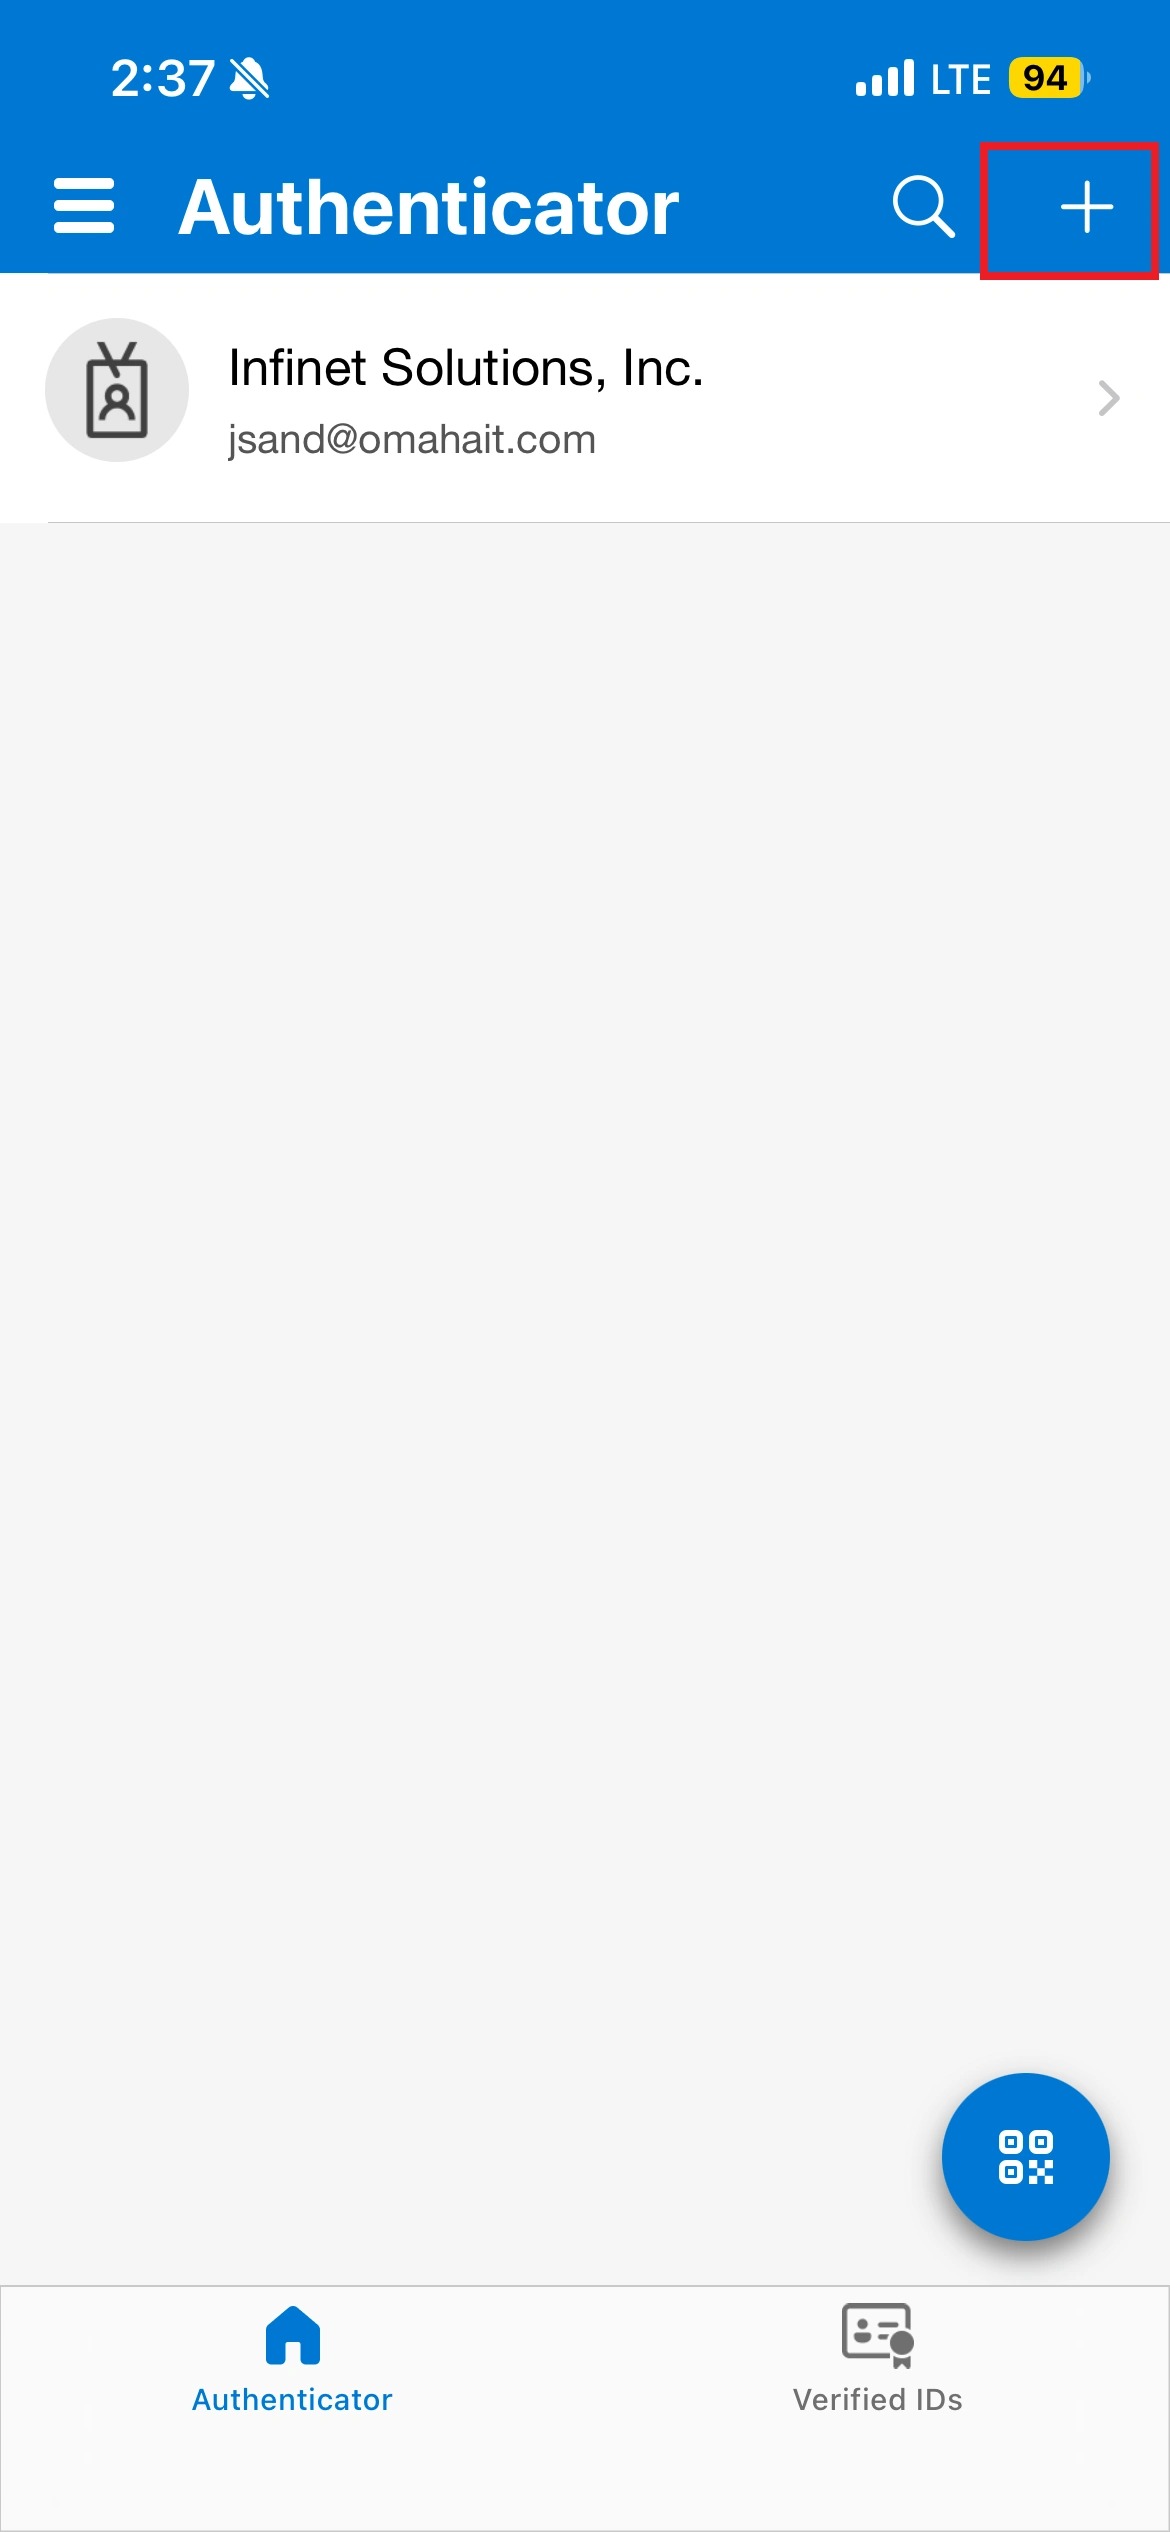
13. Click the Plus icon (+) in the upper right-hand corner
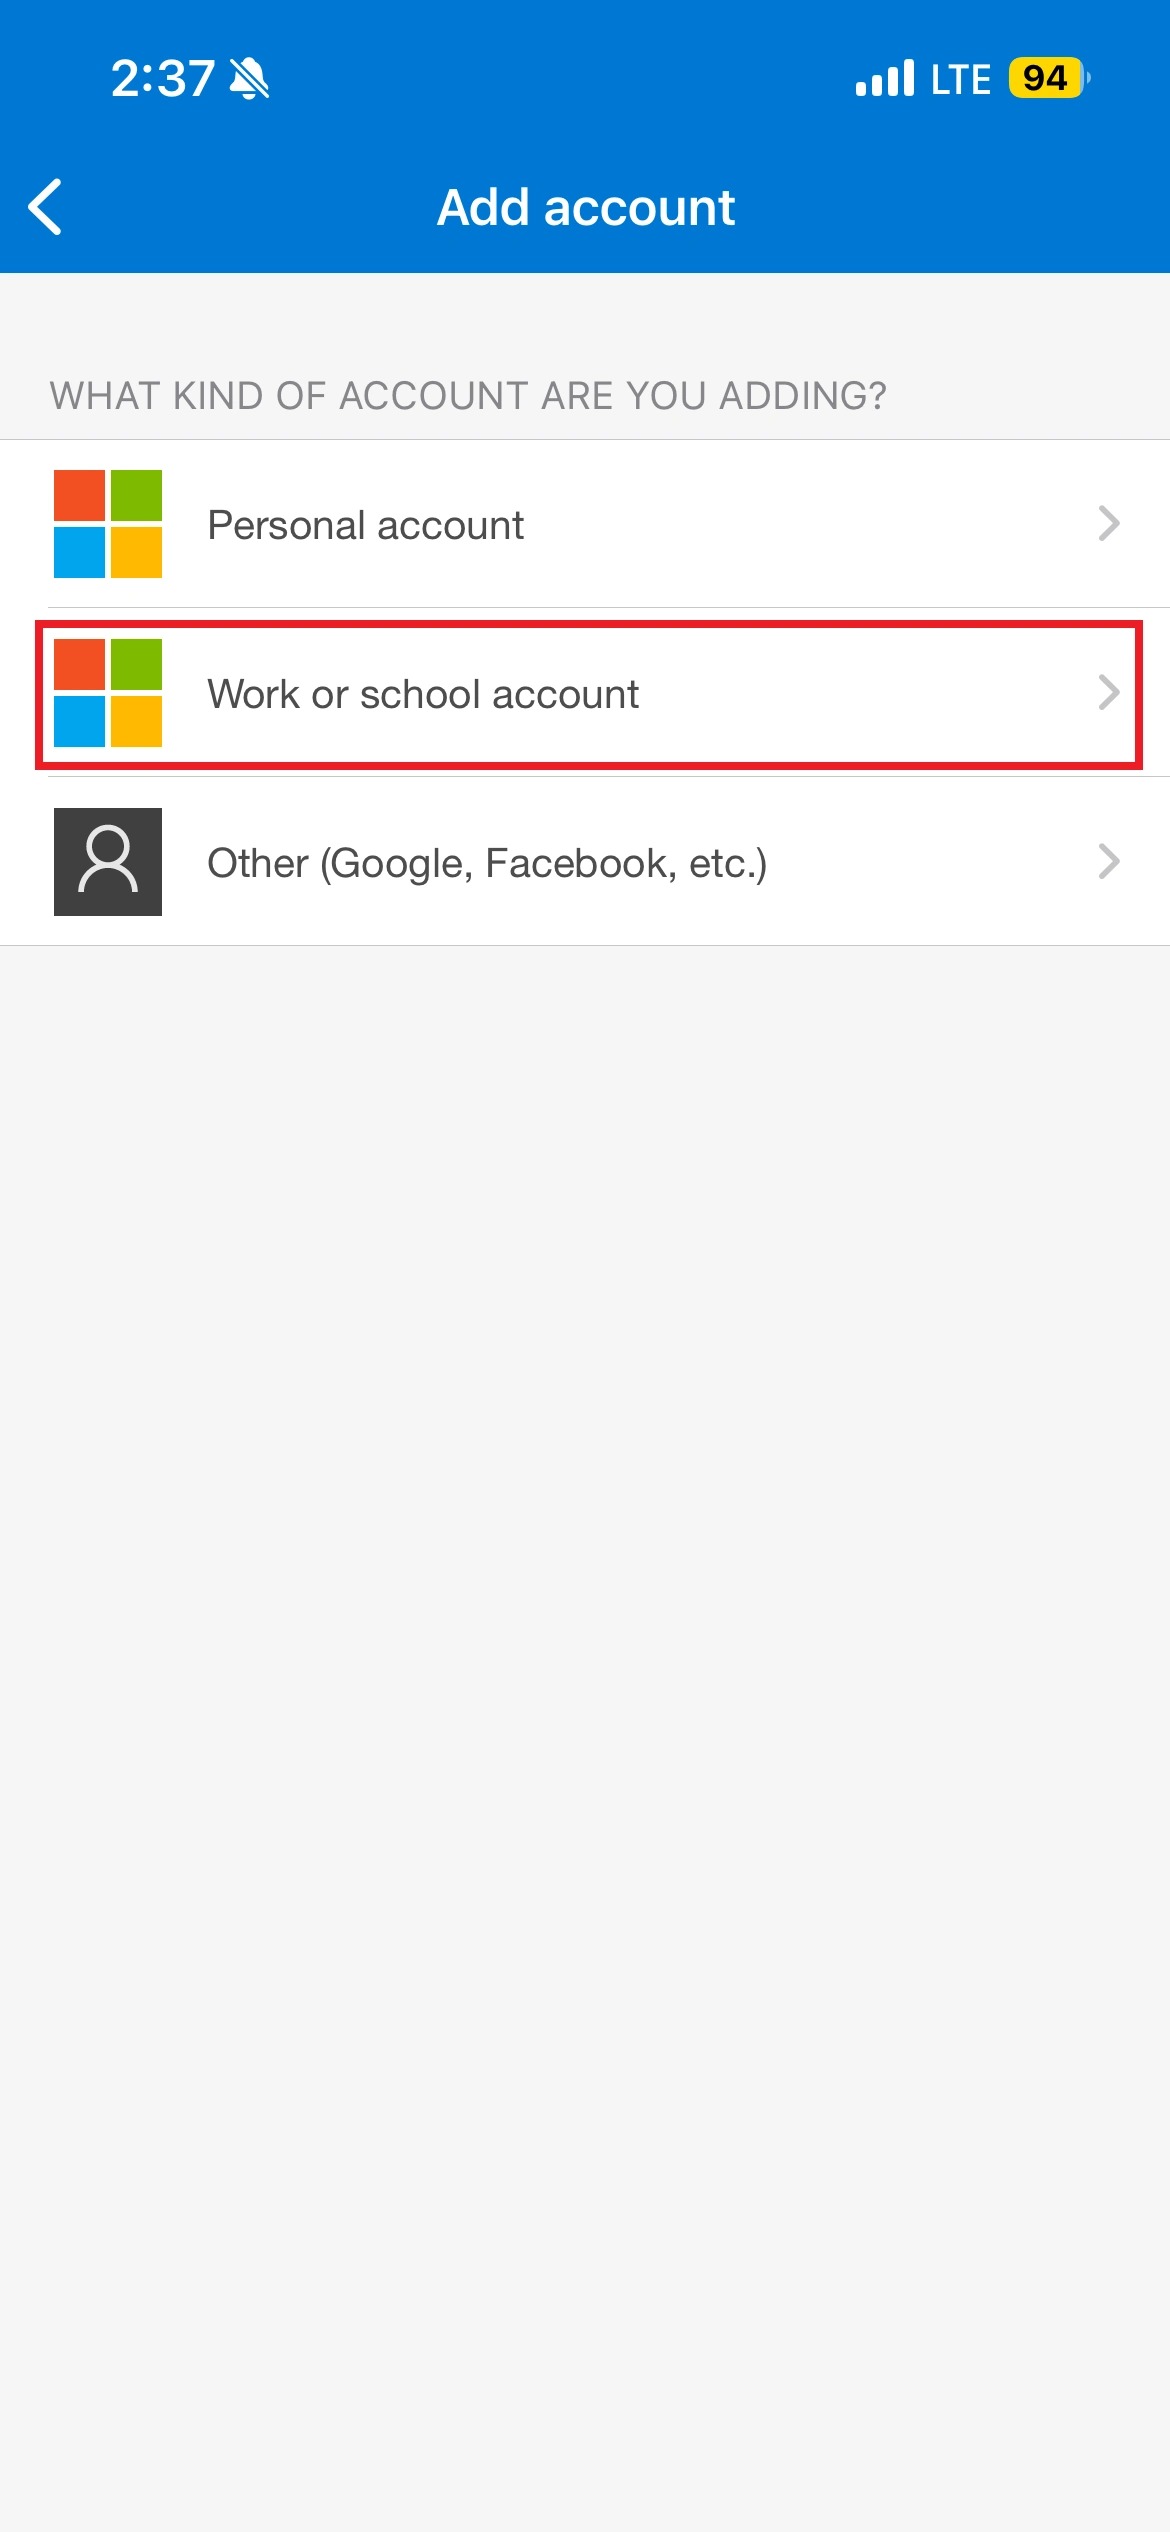
14. Select “Work or School” Account
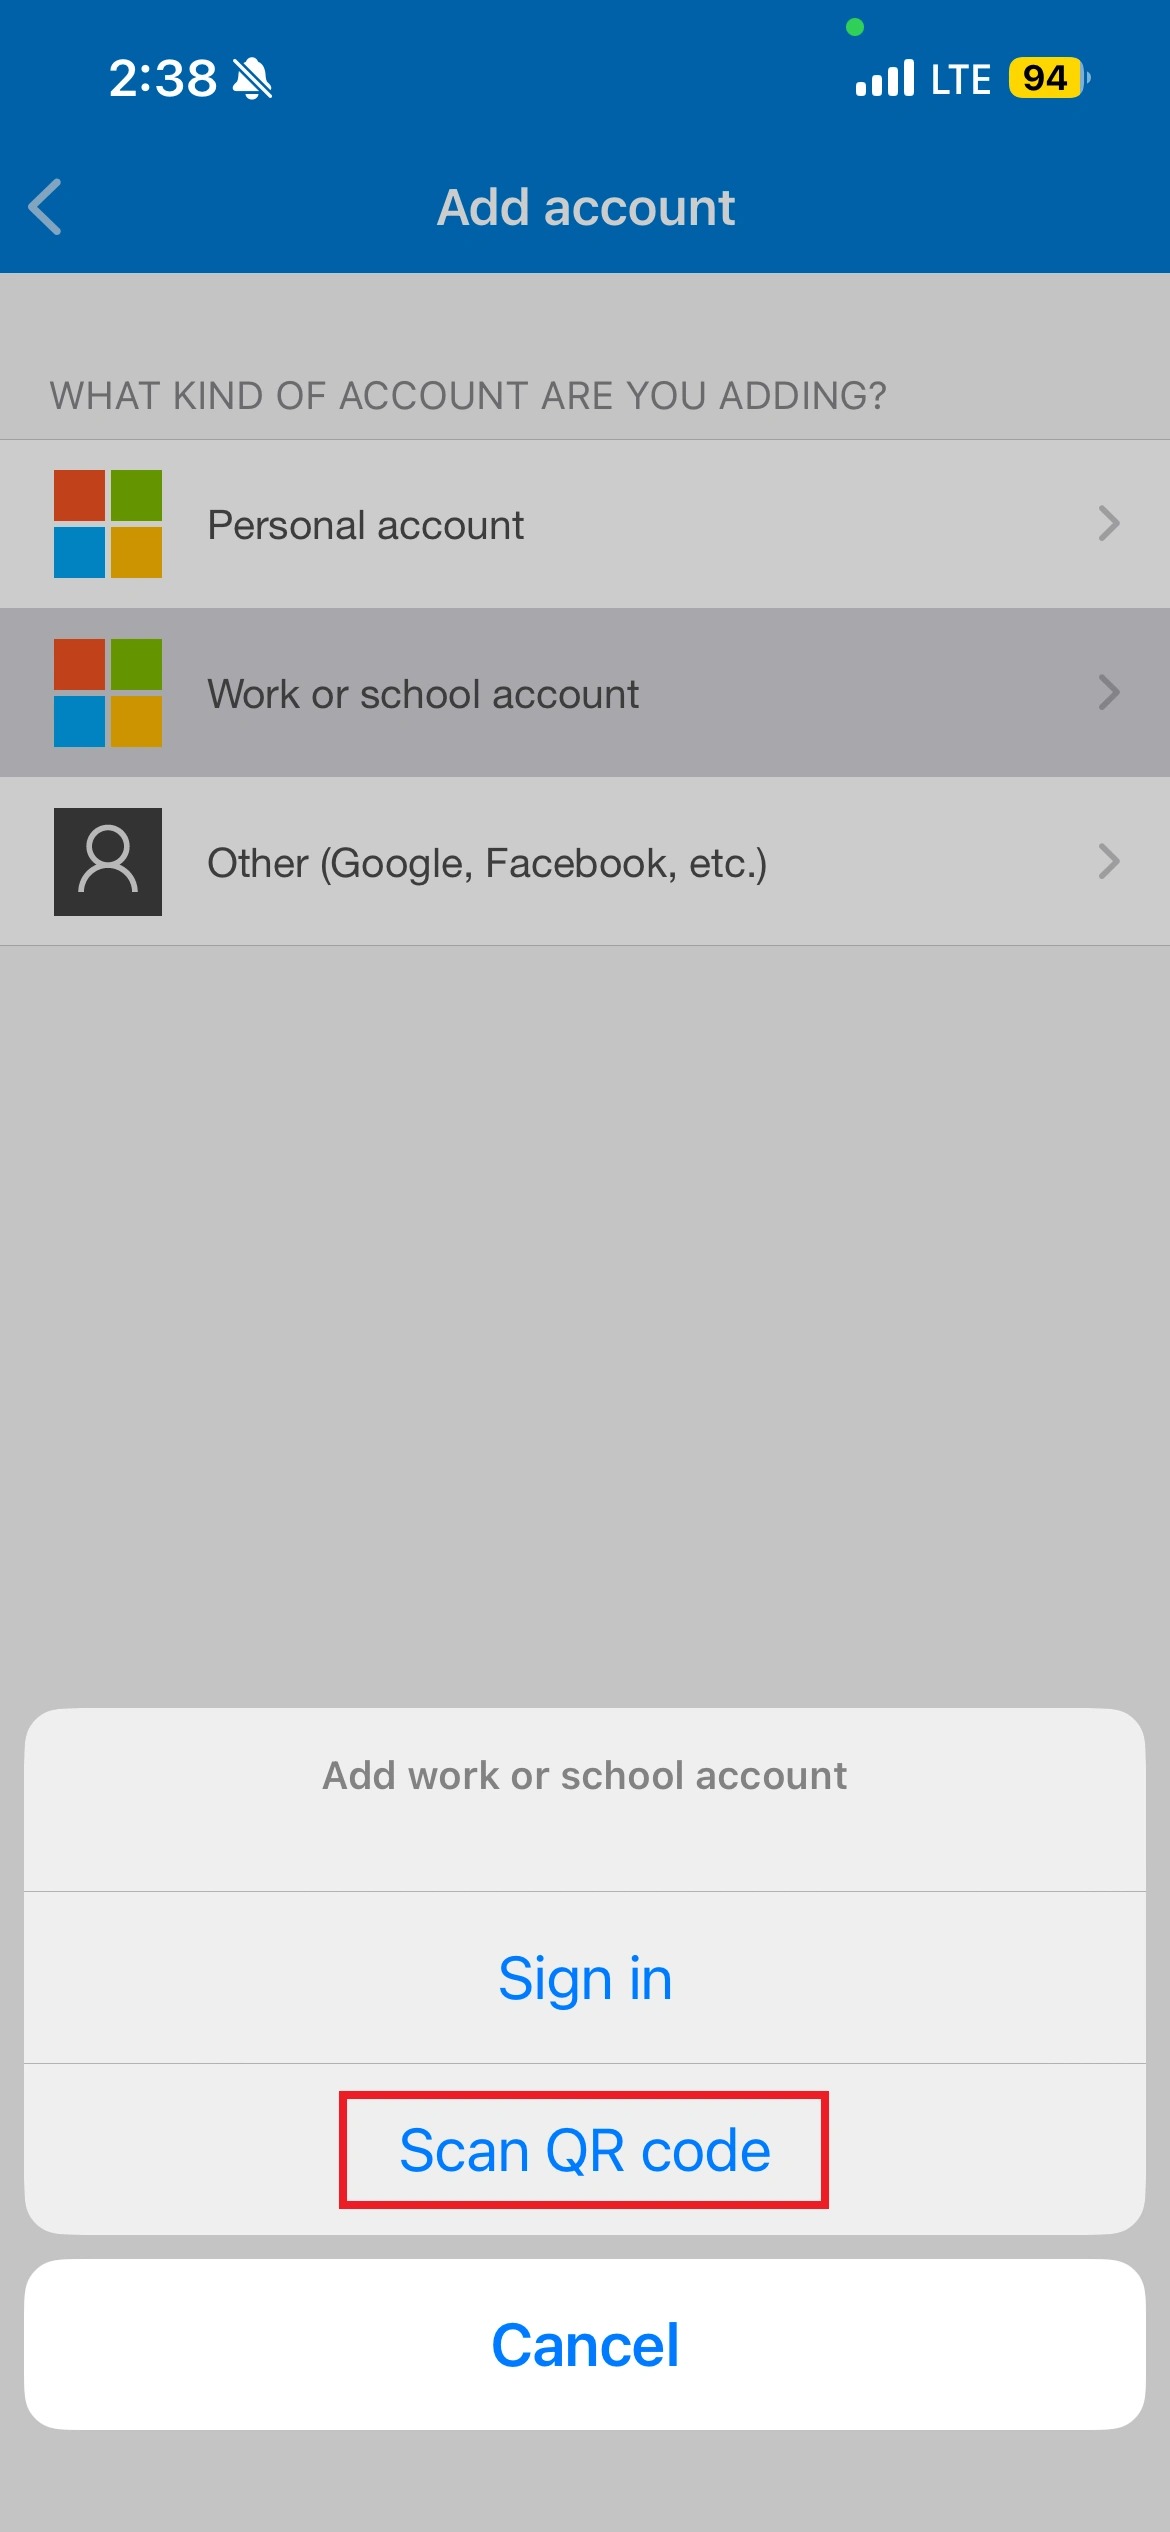
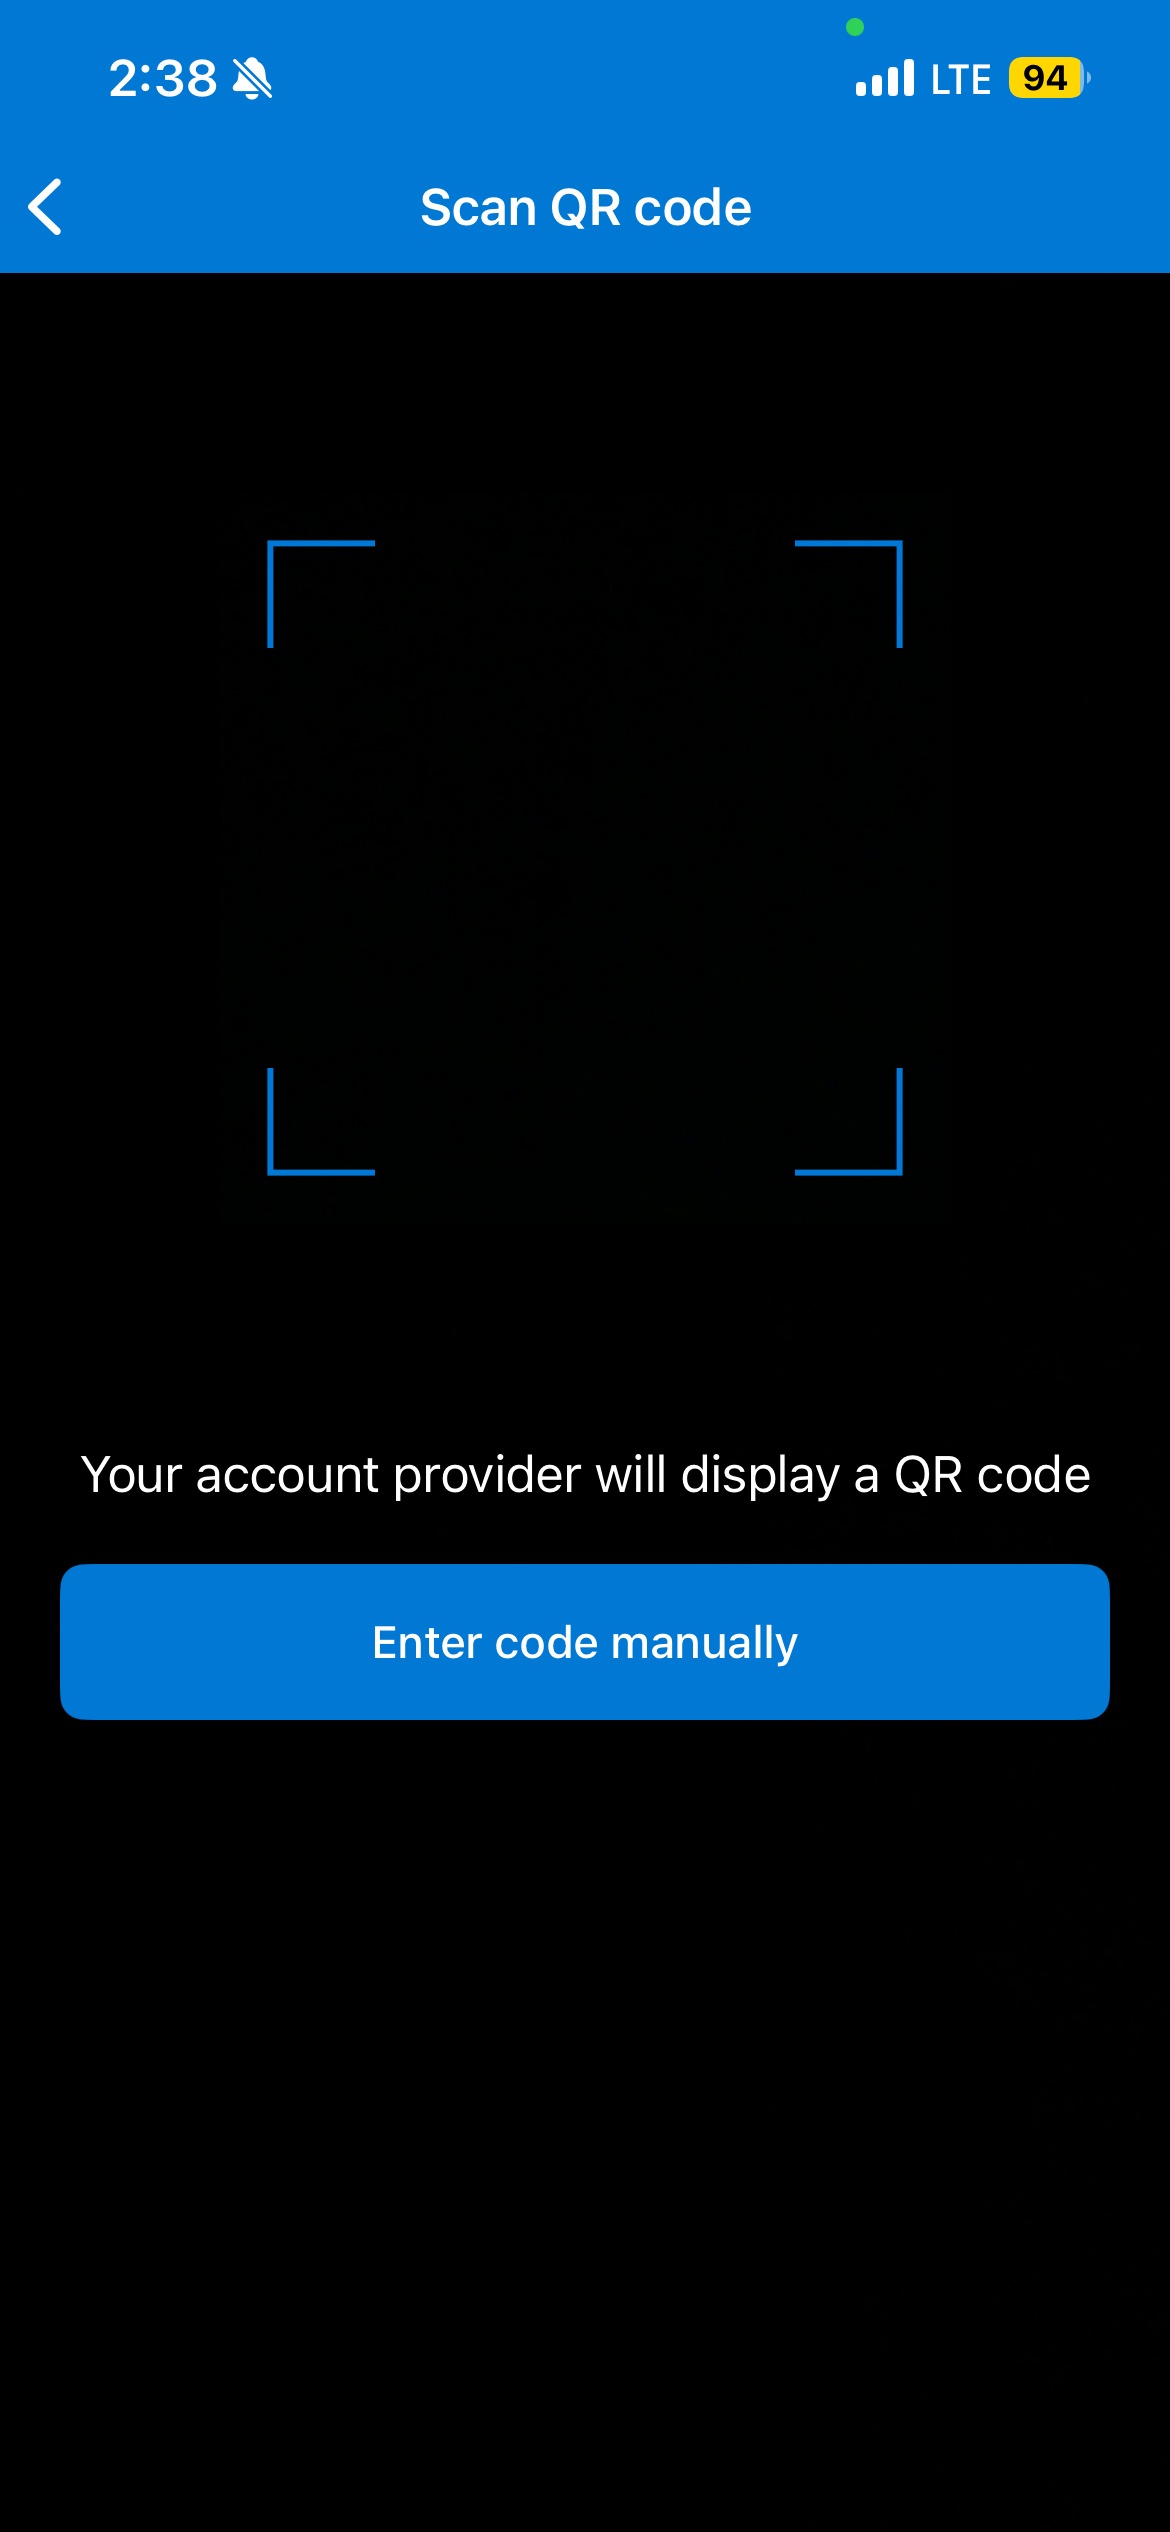
15. Tap on “Scan QR Code”
16. Scan the QR code on your computer with your mobile device to complete the enrollment process
Back to the Computer
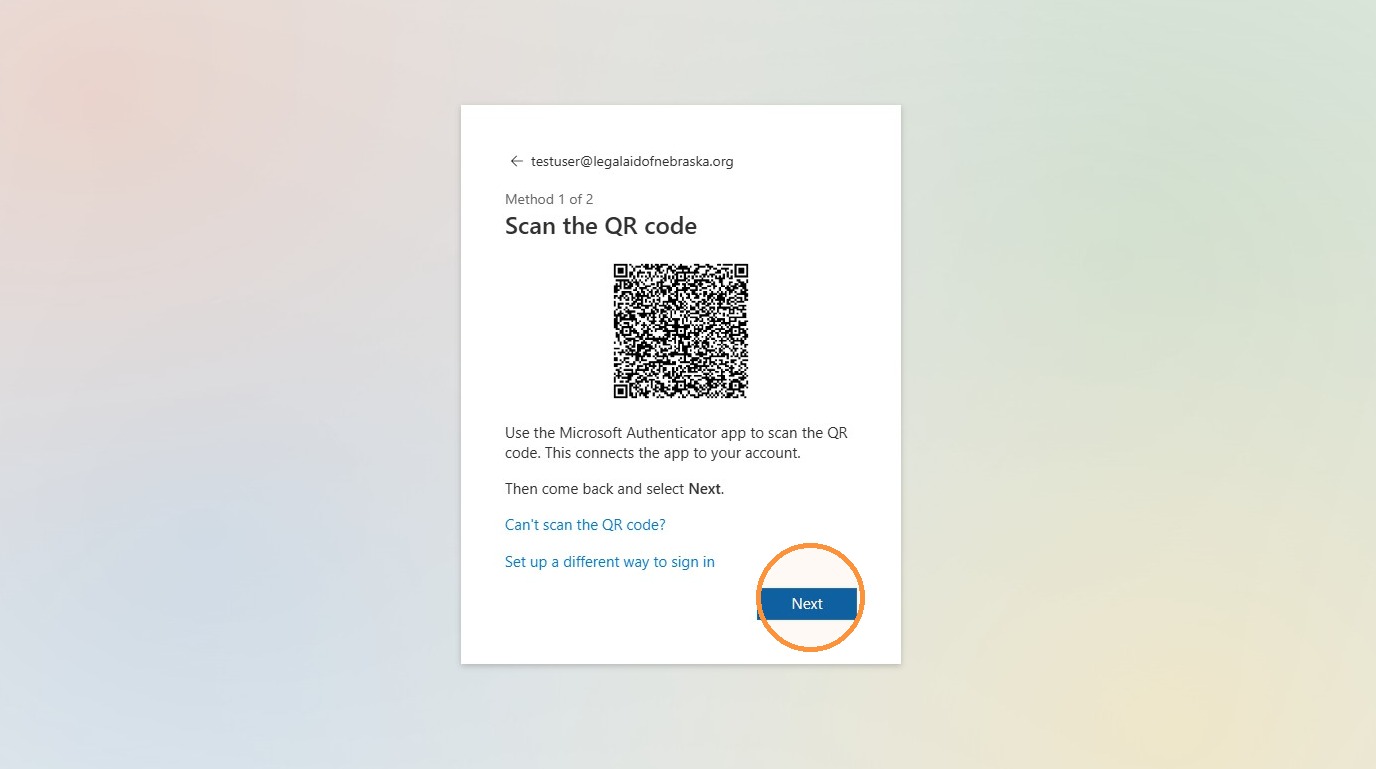
17. After you have scan the QR code with your mobile device, Click “Next”
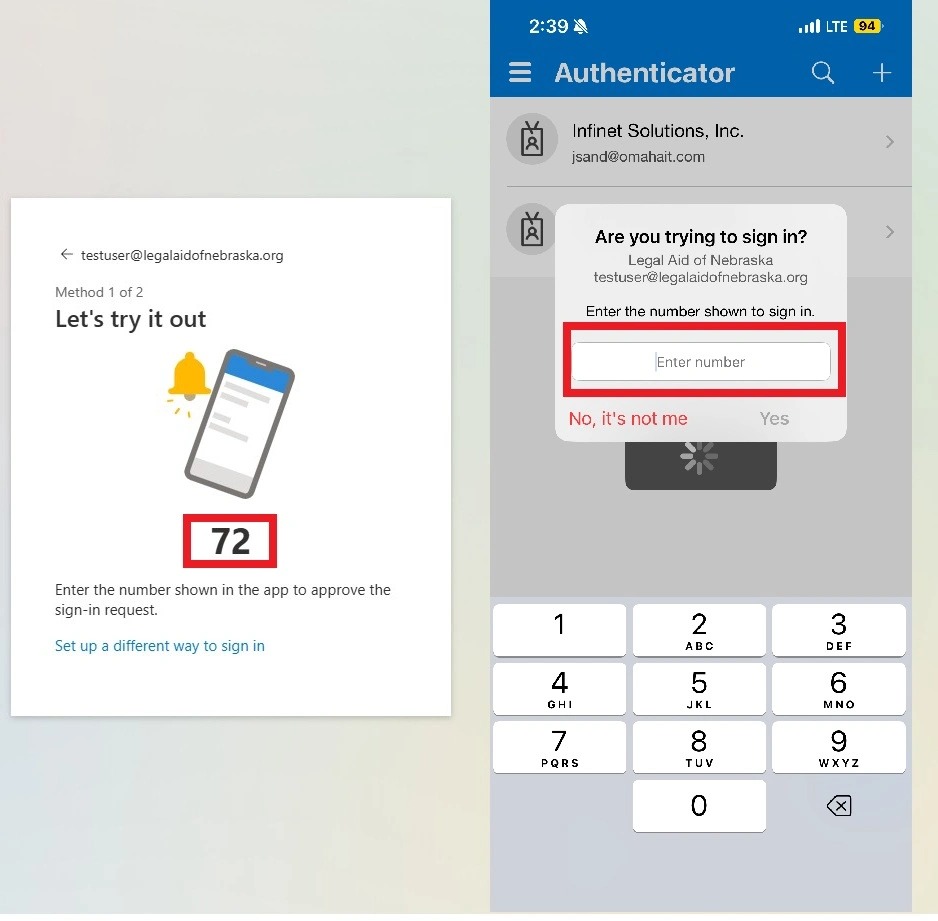
18. The Microsoft Authenticator app will send you a test prompt to ensure the process was complete successfully. Please enter the code you see on your computer into the prompt on your mobile device.
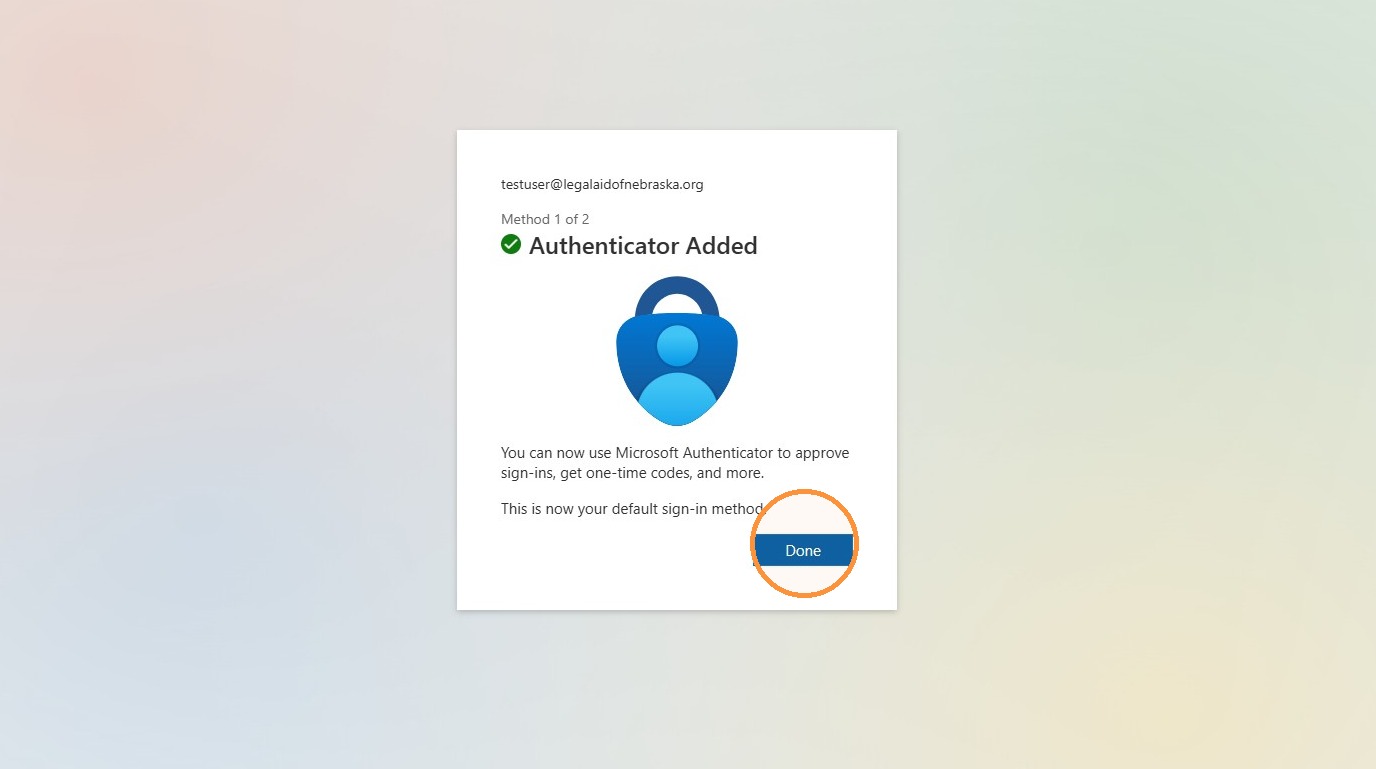
19. Click “Done” to complete the process